How to Build a DIY Cat Scratching Post: 5 Projects for Every Budget
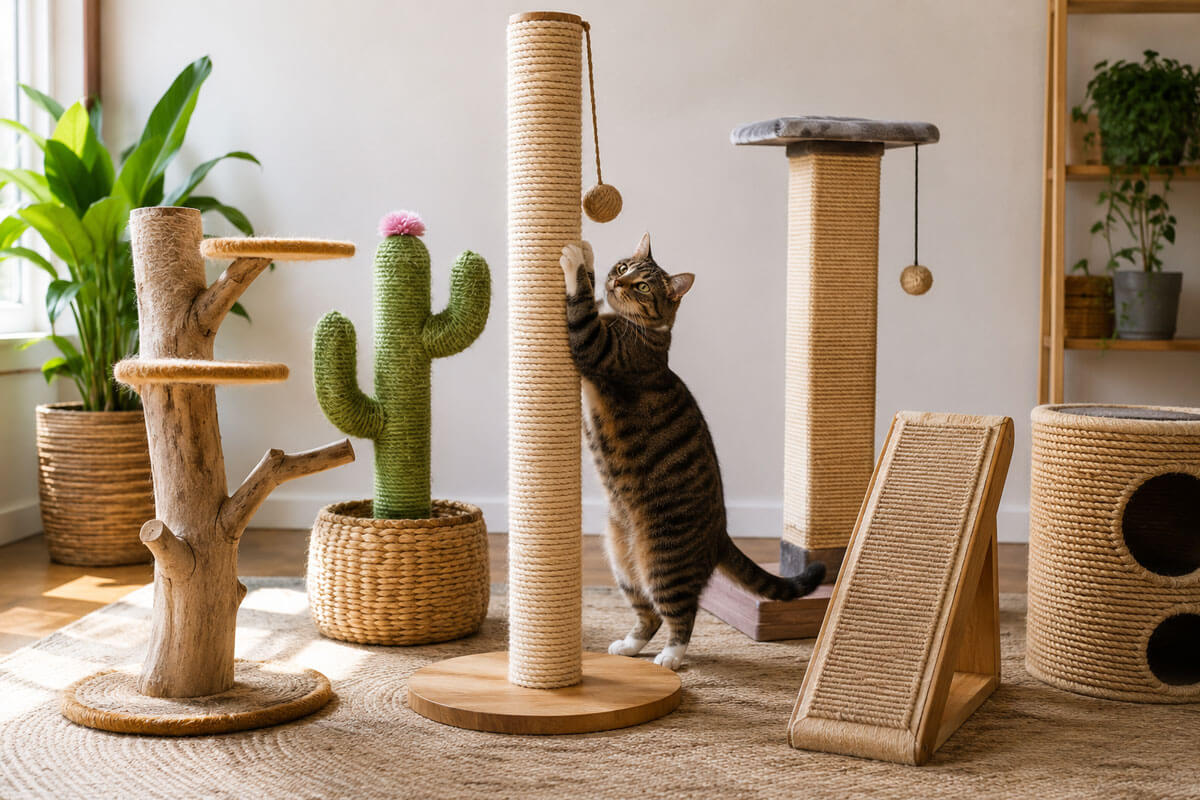
A complete, step-by-step guide to building a sturdier, cheaper, and more cat-approved scratching post at home — plus a quick quiz to help you pick the right project.
If you’ve ever caught your cat mid-shred on the corner of your couch, you already know the truth: cats need to scratch. It isn’t bad behavior — it’s biology. Scratching sharpens claws, stretches the whole body from shoulder to spine, and marks territory through scent glands in the paws. The good news is that you don’t need to spend a fortune at the pet store to give your cat what it wants. With a little time, a handful of basic materials, and this guide, you can build a diy cat scratching post that’s sturdier, more customizable, and often cheaper than anything sold in a store.
This article covers everything you need to build a great scratching post at home: the materials that actually survive daily claws, the mistakes that send DIY projects straight to the trash within a week, and five complete diy scratching post for cats projects you can start this weekend. Whether you’re picking up a staple gun for the first time or you already have a garage full of scrap wood, there’s a project here sized to your skill level, budget, and space. Take the quiz below to find out which homemade cat scratching post fits your cat best, or scroll straight to the step-by-step instructions.
Why Cats Scratch — And Why DIY Makes Sense
Scratching is a normal, instinctive behavior every cat needs to perform daily, regardless of age or breed. It removes the dead outer layer of their claws, keeps the muscles in their front legs and back limber, and leaves both a visual mark and a scent signal that says “this is my space.” When cats don’t have an appropriate surface to scratch, they’ll find one anyway — usually your sofa, stair carpet, or door frame.
A lot of store-bought posts fail their one job. They’re often too short for a full stretch, too light to stay upright when a fifteen-pound cat leans into it, or wrapped in low-grade sisal that unravels within a month. That’s exactly where diy options shine. When you build your own homemade cat scratching post, you control the height, the base weight, and — most importantly — the material your specific cat prefers. Some cats love rough sisal rope, others prefer looped carpet, and some actually favor plain corrugated cardboard. A diy cat scratching post lets you test and adjust instead of guessing at the pet store.
Quick fact: Most veterinary behaviorists recommend a scratching surface that’s at least 28–32 inches tall so an adult cat can fully extend its body during a stretch-and-scratch. Many budget store posts fall short of this — one of the biggest reasons cats ignore them.
What Makes a Good Scratching Post
- Stability first. If a post wobbles or tips on the first scratch, most cats will never use it again. A heavy base is non-negotiable.
- Enough height. Tall enough for a full-body stretch, generally 28 inches or more for an average adult cat.
- The right texture. Sisal rope and sisal fabric are the gold standard because the rough, vertical grain lets claws catch and shred without wearing out fast. Loop carpet and cardboard are solid runner-ups.
- Placement your cat likes. Near a window, by a favorite napping spot, or right next to the furniture they already scratch.
Which DIY Scratching Post Is Right for Your Cat?
Before you buy a single supply, answer five quick questions. This short quiz matches your skill level, budget, space, and your cat’s habits to one of the five projects below — so you don’t spend an afternoon building the wrong diy scratching post for cats.
Find Your Best-Fit Project
Question 1 of 5Tools & Materials You’ll Reach For Most
Every project below draws from the same small toolkit, so it’s worth gathering these before you start. You won’t need all of them for every build, but having them on hand means you won’t stop mid-project for a hardware store run.
- Sisal rope (about 5/16″ to 3/8″ thick) — the single best material for a durable homemade cat scratching post. Browse sisal rope options →
- Carpet remnant or scrap carpet squares for carpet-wrapped builds. Browse carpet remnants →
- PVC pipe or a 4×4 wood post as your core structure
- A heavy base board (plywood, MDF, or a thick wood slab), roughly 16″–20″ square
- Wood glue and construction adhesive to lock everything together. Browse wood glue →
- A staple gun and heavy-duty staples for anchoring rope and fabric. Browse staple guns →
- A hot glue gun for cardboard builds. Browse hot glue guns →
- Corrugated cardboard sheets if you’re going the budget route. Browse cardboard sheets →
- A drill, screws, sandpaper, measuring tape, and a level
- Optional: a small tin of catnip spray to encourage first use
5 DIY Cat Scratching Post Projects
Below are five complete builds, from a 20-minute cardboard project to a full multi-level cat tree. Every project includes clear steps, an honest pros-and-cons breakdown, and rough difficulty so you know what you’re signing up for.
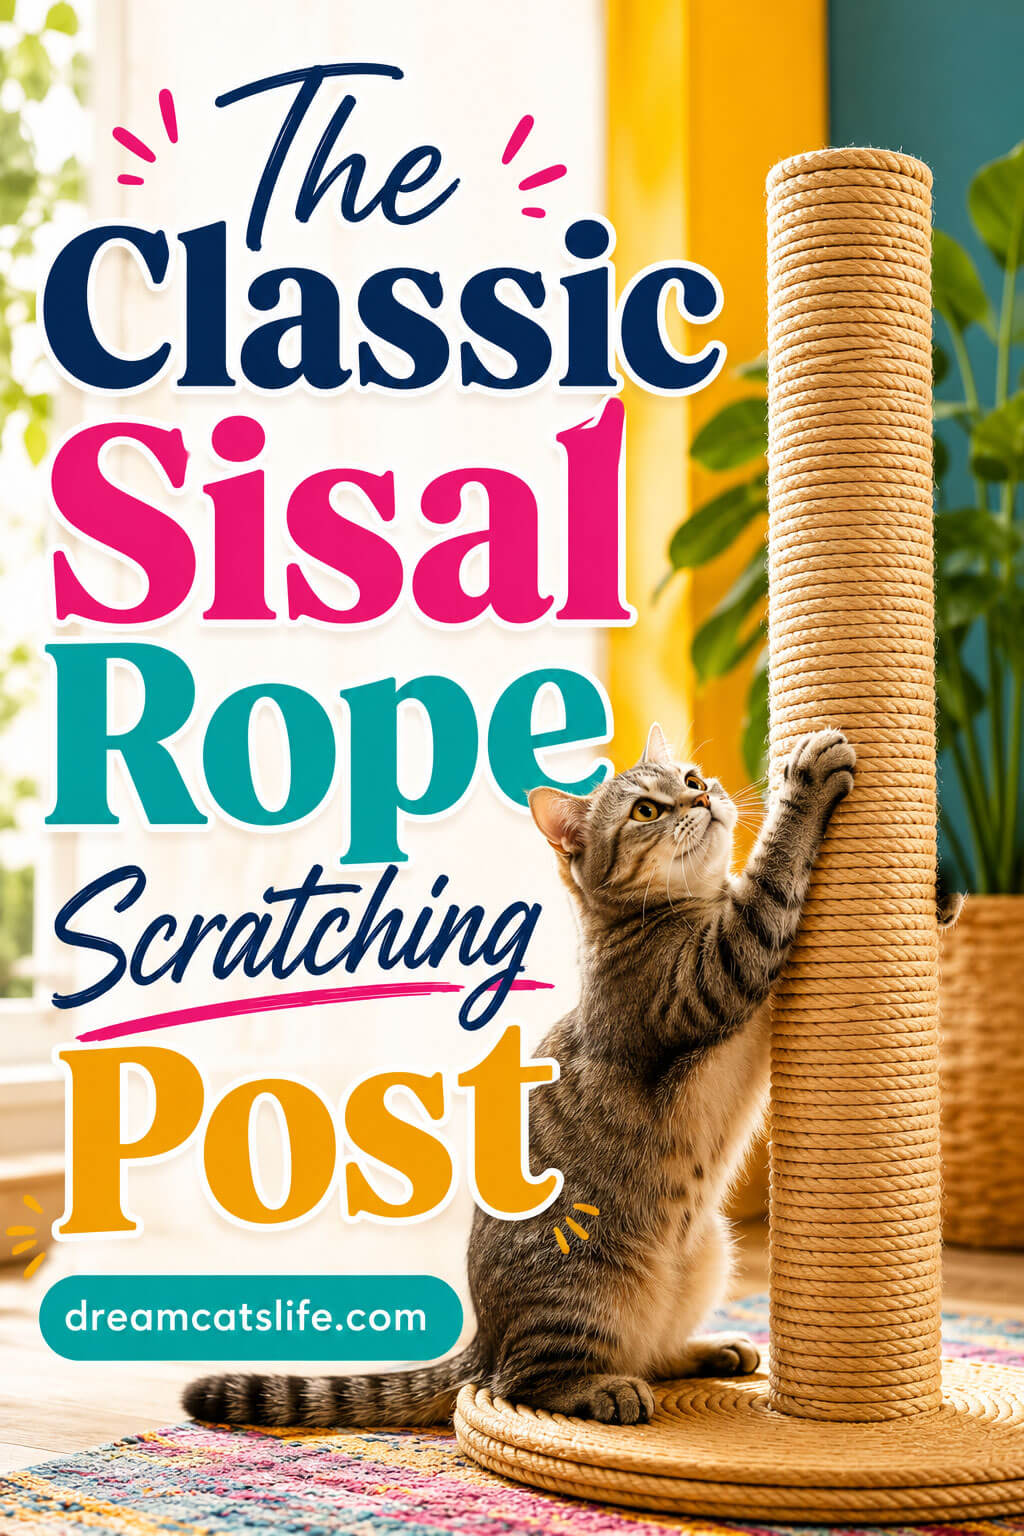
Project 1: The Classic Sisal Rope Scratching Post
Difficulty: Intermediate · Time: ~3 hours
This is the workhorse of any diy cat scratching post collection — a tall, rope-wrapped column on a heavy base. It looks nearly identical to premium store-bought posts but costs a fraction of the price, and you control exactly how tightly the rope is wound.
What you’ll need
- A 4×4 wood post or thick cardboard tube, cut to 30–34 inches
- 18″x18″ plywood base, ¾” thick
- Roughly 150–200 feet of sisal rope
- Wood glue, a staple gun, and 4 L-brackets
- Optional carpet remnant to wrap the base
- Cut your post to height. Aim for at least 30 inches so your cat can fully stretch when scratching.
- Attach the post to the base. Center it on the plywood base and secure it from underneath with L-brackets and wood screws — this is what stops the post from tipping.
- Anchor the rope. Staple the end of the sisal rope to the bottom of the post, hidden underneath.
- Wind the rope tightly, working upward. Keep even tension and no gaps between wraps; loose rope is the #1 reason DIY posts fail early. Add a dab of wood glue every few wraps for extra hold.
- Staple the top end securely, then trim any excess rope.
- Wrap or carpet the base for a finished look, and let all glue cure fully — usually 24 hours — before letting your cat near it.
Pros
Extremely durable; sisal holds up to daily use for years
*
Closely mimics premium store posts
*
Fully customizable height and base weight
Cons
Winding rope evenly takes practice and patience
*
Requires more tools than the simpler projects
*
Higher material cost than cardboard builds
Project 2: The Carpet-Covered Scratching Post
Difficulty: Intermediate · Time: ~2.5 hours
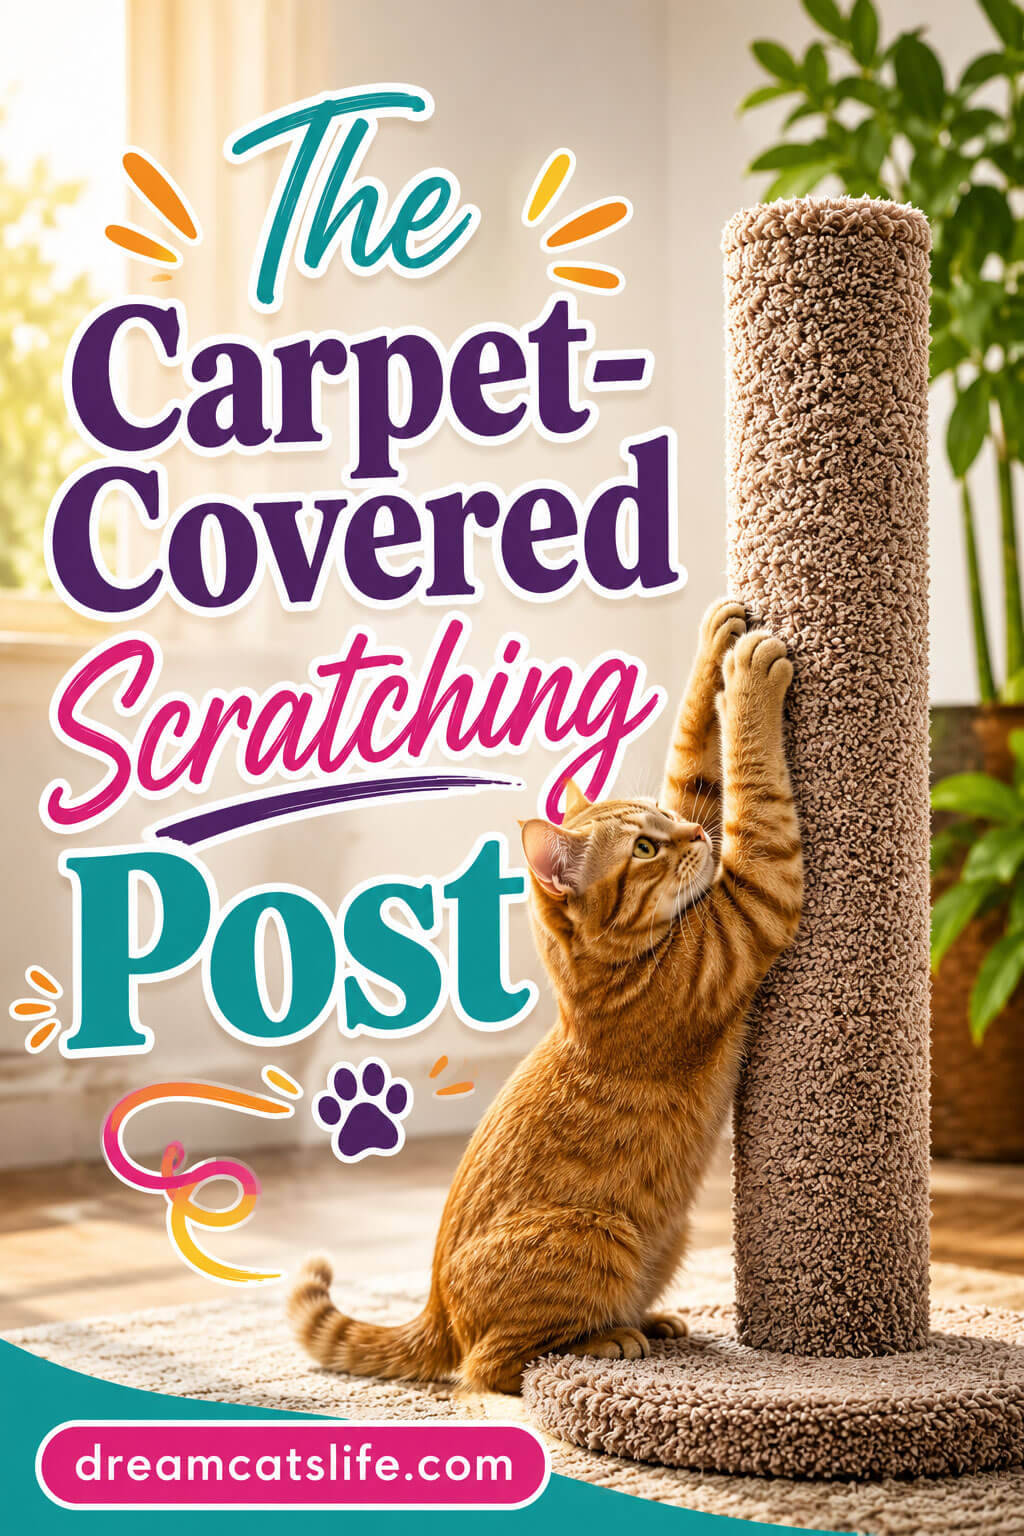
If your cat already loves attacking your stair runner or hallway carpet, this diy scratching post for cats gives them a legal target. Carpet is soft underfoot, forgiving to build with, and blends more easily into a living room than raw rope.
What you’ll need
- A cardboard tube or 4×4 post, 26–30 inches
- 16″x16″ MDF or plywood base
- Carpet remnant, enough to wrap the post and cover the base
- Heavy-duty staple gun, spray adhesive, and a utility knife
- Cut your carpet to size. Measure the post’s circumference and add an inch for overlap; cut a separate square to cover the base.
- Apply spray adhesive to the post in sections, working from bottom to top so the carpet lays flat with no bubbles.
- Wrap the carpet around the post, pressing firmly, then staple the seam closed along one straight line so it stays hidden.
- Cover the base with a fitted carpet square, folding and stapling the edges underneath.
- Attach the post to the base using L-brackets from below for stability.
- Trim any loose threads and let the adhesive fully cure before use.
Pros
Soft, comfortable, and blends into home décor
*
Great for cats that prefer looped textures over rope
*
Easier to wrap neatly than sisal rope
Cons
Carpet wears out faster than sisal under heavy claws
*
Loose carpet threads can be swallowed, so check it often
*
Some cats generalize “carpet = okay to scratch” everywhere
Project 3: The Budget Cardboard Scratching Lounger
Difficulty: Beginner · Time: ~30 minutes
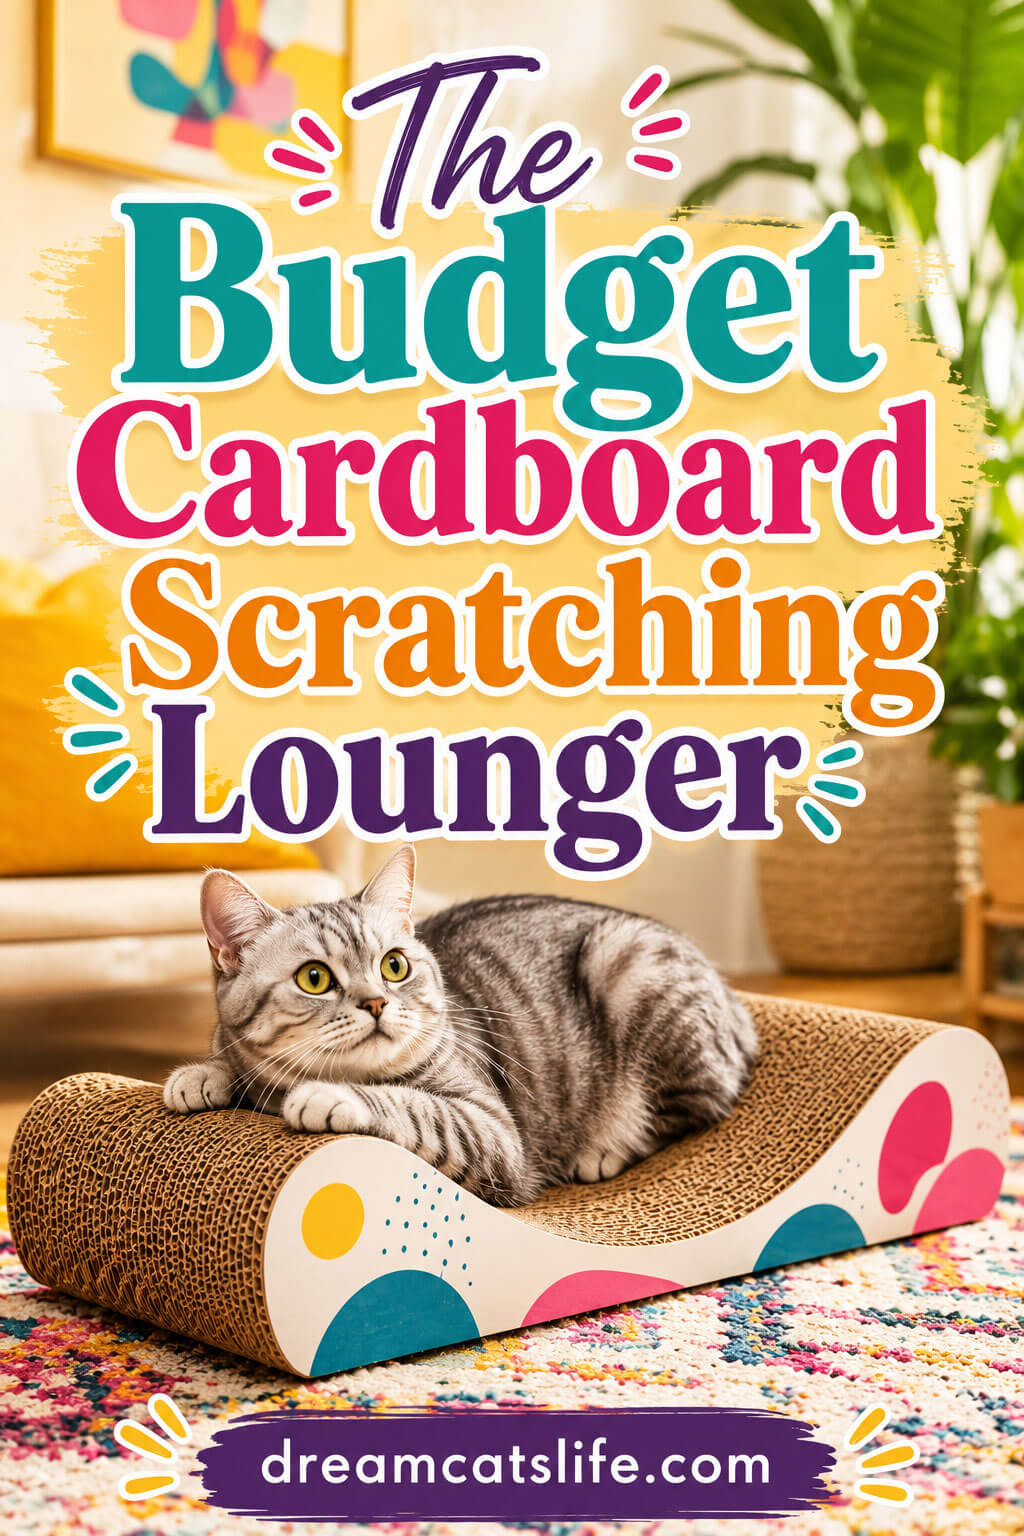
The Budget Cardboard Scratching Lounger
This is the fastest, cheapest homemade cat scratching post on the list — really more of a scratching pad than a post, and perfect for cats that scratch horizontally on rugs or the floor rather than climbing furniture vertically.
What you’ll need
- Corrugated cardboard sheets (5–8 sheets, or a large flattened box)
- Hot glue gun
- A ruler, pencil, and box cutter
- Cut identical strips of corrugated cardboard, roughly 4 inches wide, from your sheets.
- Stack the strips so the corrugation (the wavy inner layer) faces upward — this is the part cats actually dig their claws into.
- Glue each layer to the next, working in small sections so the hot glue doesn’t set before you press the layers together.
- Shape the edges into a curve or wave with your box cutter for a more finished, lounger-style look, if desired.
- Let it fully cool and set for at least an hour before placing it on the floor.
Pros
Cheapest and fastest project on this list
*
No power tools required
*
Cats love the shredding texture of exposed corrugation
Cons
Wears out faster than rope or carpet — expect to replace every few months
*
Only suits horizontal scratchers, not vertical stretchers
*
Produces cardboard debris that needs regular sweeping
Project 4: The Wall-Mounted Scratching Board
Difficulty: Beginner–Intermediate · Time: ~1.5 hours
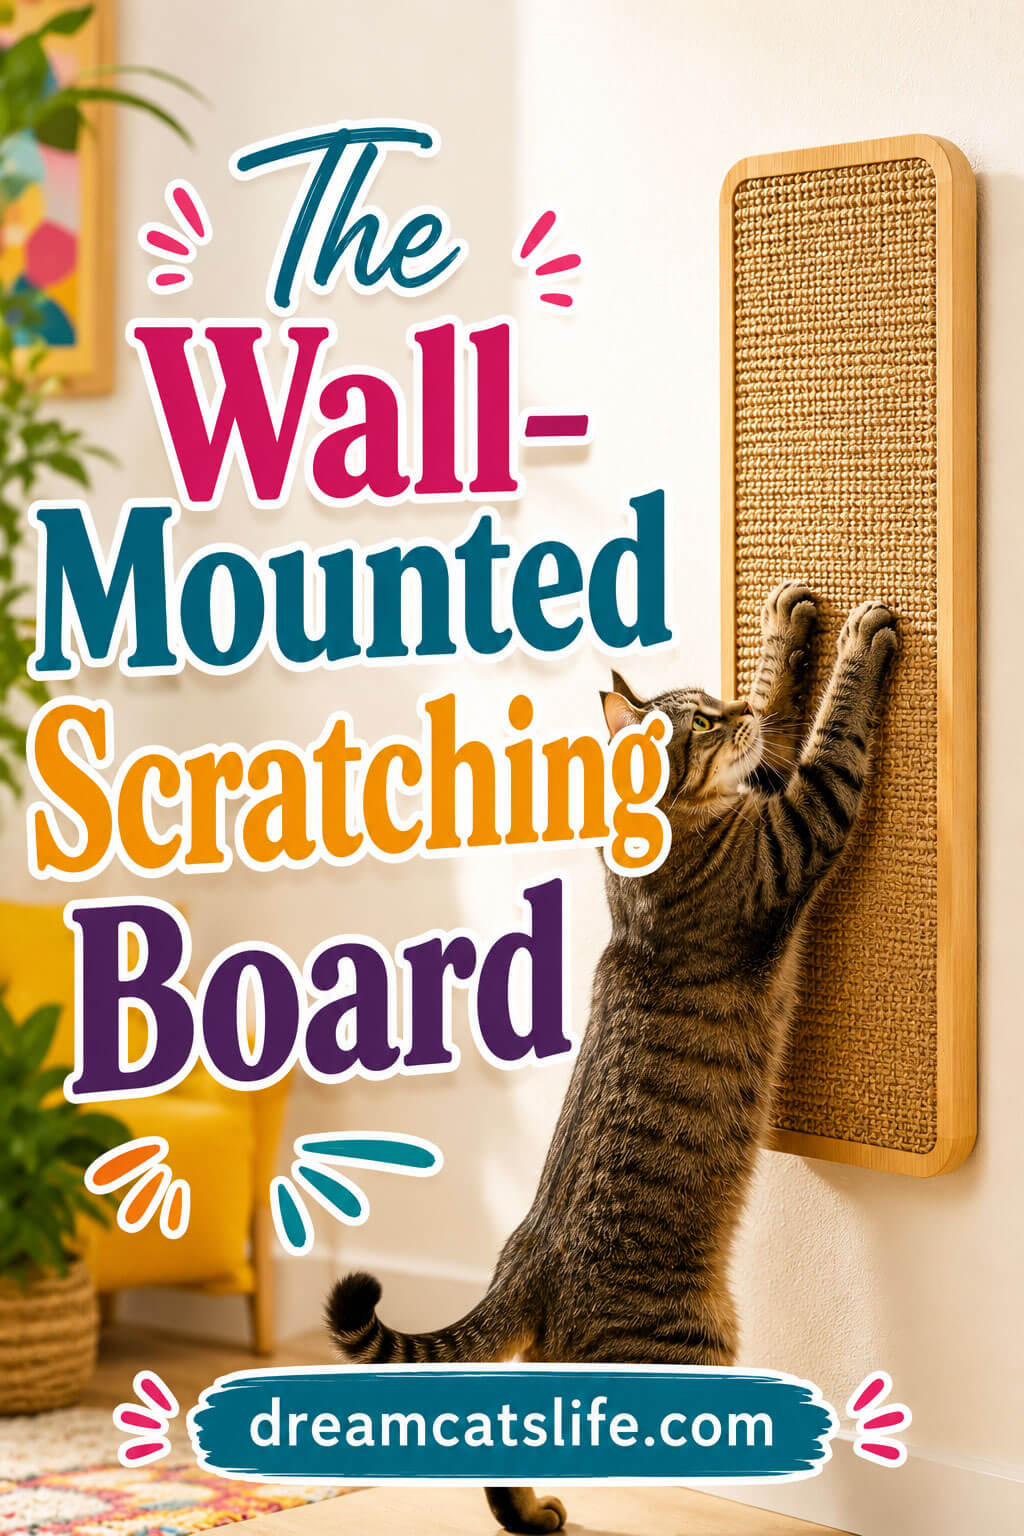
Perfect for small apartments or anyone who doesn’t want a freestanding post taking up floor space, this vertical board mounts directly onto a wall at cat height — often right where your cat is already scratching door frames or corners.
What you’ll need
- A wood board, roughly 12″x28″
- Sisal rope or a sisal fabric mat
- 2 heavy-duty wall anchors or French cleat hardware
- Staple gun and wood glue
- Sand the board smooth and round any sharp edges.
- Wrap or staple sisal rope across the board horizontally in tight, even rows, or glue on a pre-cut sisal fabric mat for a faster finish.
- Attach mounting hardware to the back — a French cleat is strongest and lets you remove the board for cleaning.
- Mount it at a slight diagonal angle if possible; many cats prefer an angled surface over a perfectly vertical one.
- Position it at the right height — generally starting near the floor and extending up to where your cat can stretch fully upward.
Pros
Saves floor space entirely
*
Very stable once mounted — no tipping risk
*
Can be placed at the exact spot your cat already targets
Cons
Requires drilling into a wall
*
Fixed position; harder to relocate later
*
Not ideal for renters without wall-repair options
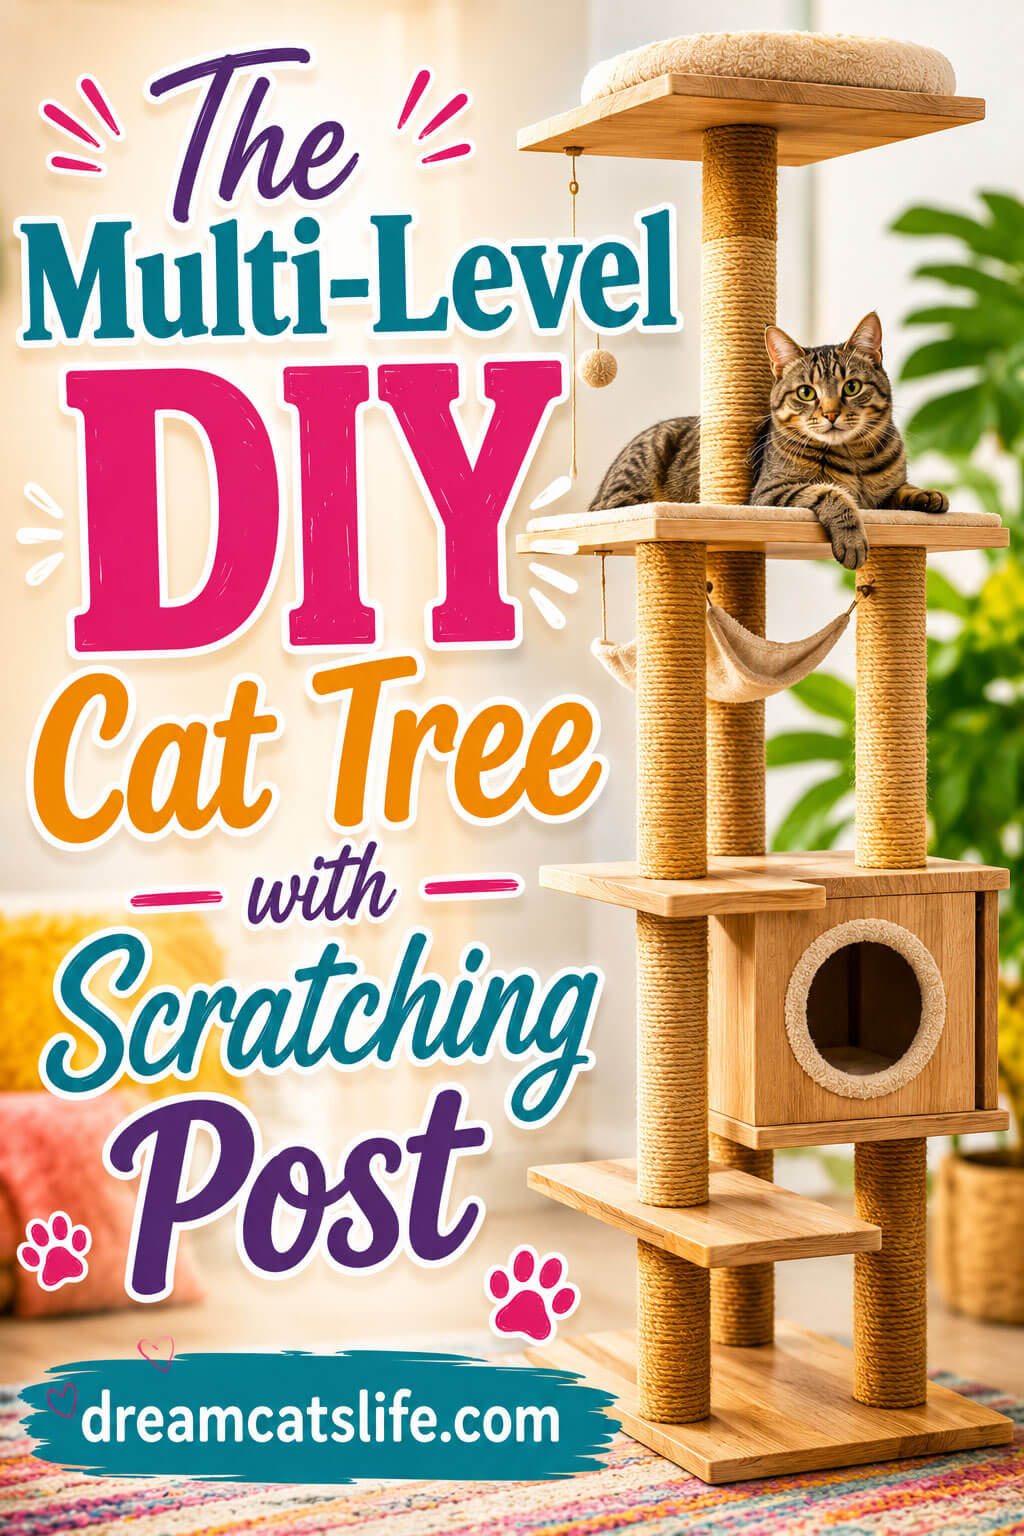
Project 5: The Multi-Level DIY Cat Tree with Scratching Post
Difficulty: Advanced · Time: A weekend
For multi-cat households or anyone ready for a bigger build, this project combines two or three sisal-wrapped posts with platforms and a perch. It’s the most involved diy cat scratching post project here, but it doubles as a climbing structure, so it earns its floor space several times over.
What you’ll need
- 2–3 wood posts or thick cardboard tubes of varying heights (24″–48″)
- A large plywood base, at least 24″x24″, plus 1–2 smaller platform boards
- Carpet remnant for the platforms, sisal rope for the posts
- L-brackets, wood screws, wood glue, staple gun, drill
- Plan your layout on paper first. Sketch where each post and platform will sit so cats have a natural climbing path.
- Build and wrap each post individually using the sisal method from Project 1, before assembling the full structure.
- Cut platform boards and wrap each in carpet remnant, stapling the edges underneath.
- Attach posts to the base with L-brackets, spacing them so a cat can move between levels comfortably.
- Mount the platforms at staggered heights along the posts using screws driven through the post into the platform’s underside.
- Test stability by pushing firmly on every level before letting your cat near it — this build carries more weight higher up, so a solid, heavy base is essential.
Pros
Doubles as climbing and lounging space, not just a scratcher
*
Great for multi-cat homes — reduces territory competition
*
Fully custom size, shape, and number of levels
Cons
Most expensive and time-consuming project on this list
*
Needs real woodworking tools and some planning
*
Base must be heavy and wide to prevent tipping at height
Common Mistakes to Avoid
Most failed DIY projects don’t fail because of bad instructions — they fail because of a handful of repeat mistakes. Keep these in mind before you start:
- Skimping on the base. A light or narrow base is the single biggest reason cats abandon a diy scratching post for cats after one try. If it wobbles even slightly, most cats won’t return to it.
- Wrapping rope too loosely. Gaps between rope wraps catch claws and unravel fast. Keep tension consistent and glue every few wraps.
- Building it too short. Anything under 28 inches won’t let an adult cat fully stretch, which defeats the entire purpose of the post.
- Using the wrong glue. Craft glue and cheap adhesives won’t hold under repeated clawing. Stick with wood glue, construction adhesive, or a high-temp hot glue gun depending on the project.
- Ignoring your cat’s actual preference. A gorgeous sisal post is wasted if your cat only ever scratches horizontally on rugs. Watch your cat’s current scratching habits before committing to a design.
- Skipping the cure time. Letting glue and adhesive set fully — usually 24 hours — prevents pieces from coming loose on day one.
Placement and Maintenance Tips
Where you put a scratching post matters almost as much as how you build it. Cats tend to scratch right after waking up, so a spot near a favorite napping area works well. Placing a new post directly next to furniture your cat already scratches — then gradually moving it a few inches at a time — is one of the most reliable ways to redirect the habit.
A light dusting of catnip or a few sprays of catnip spray on a new post can speed up adoption. For upkeep, trim any loose sisal fibers with scissors rather than pulling them, vacuum cardboard debris regularly, and plan to re-wrap or replace the scratching surface every 12–18 months depending on how many cats use it and how often.
Final Thoughts
Building a diy cat scratching post isn’t just a money-saving project — it’s a chance to build something that actually fits your cat’s height, habits, and texture preferences better than a mass-produced version ever could. Start with whichever project matches your time, tools, and budget, whether that’s a 30-minute cardboard lounger or a full weekend multi-level tree. Pay close attention to the base, the height, and the material, since those three details decide whether your cat uses the post daily or ignores it completely.
Once your homemade cat scratching post is built and your cat has claimed it as their own, you’ll likely notice fewer shredded couch corners and a much happier, more stretched-out cat. And if the first project doesn’t land perfectly with your cat’s preferences, that’s the real advantage of going the diy route — you can always adjust, rebuild, or try one of the other four projects until you find the one they can’t stay away from.