How to Clean Your Cat’s Ears Safely: A Step-by-Step Guide
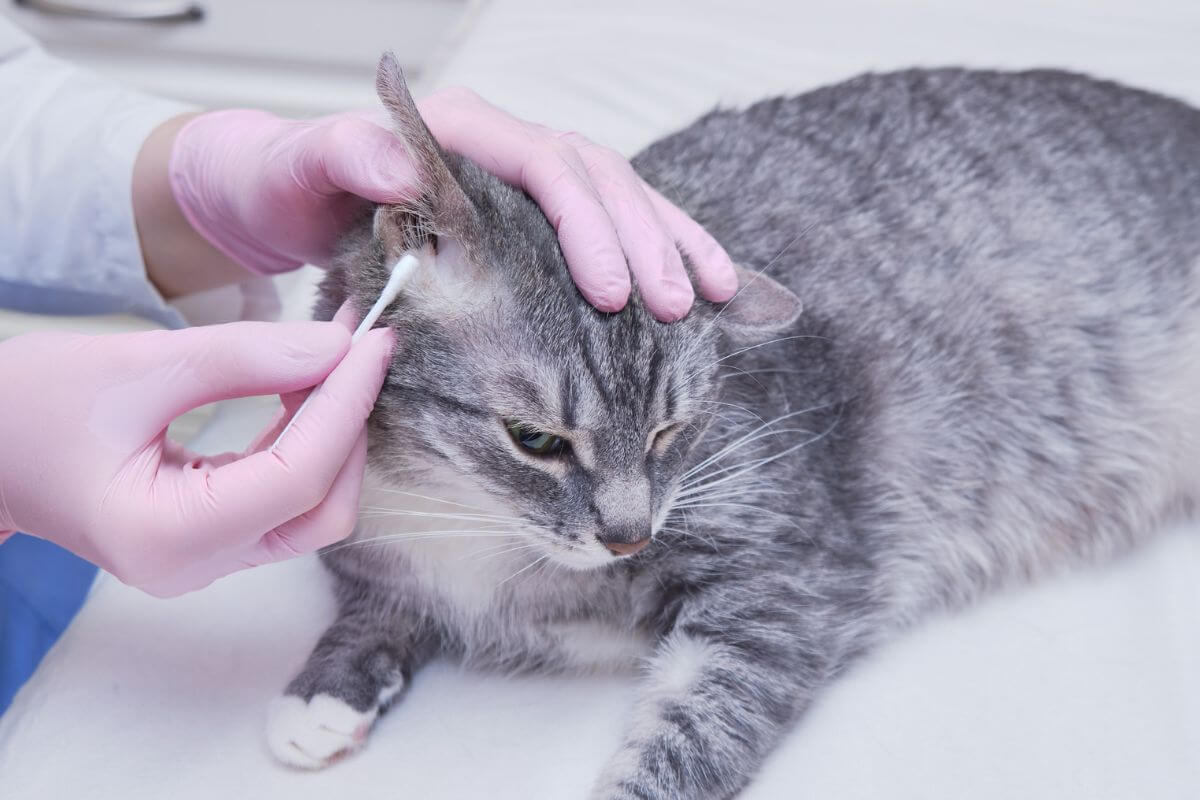
If you have ever caught your cat scratching at one ear or noticed a bit of dark residue on a cotton ball after a cuddle, you have probably wondered whether it is time to give those ears a good cleaning. The short answer is that most healthy cats need far less ear cleaning than people expect, but knowing how to do it correctly, and when to skip it entirely, is one of the most useful skills a cat owner can have. Done gently and with the right supplies, ear cleaning takes only a few minutes and can help you spot problems early. Done carelessly, it can irritate the ear, push debris deeper, or even cause real damage.
This guide walks you through everything you need to know about how to clean your cat’s ears safely at home: what a healthy ear looks like, which supplies to use, a calm step-by-step method, the mistakes that cause the most trouble, and the warning signs that mean a veterinarian should take over.
Quick answer
Use a veterinarian-approved cat ear cleaner, fill the visible part of the ear canal, massage the base of the ear for about 20 to 30 seconds, let your cat shake, and then wipe away loosened debris with a cotton ball or gauze. Never use cotton swabs, hydrogen peroxide, or rubbing alcohol, and call your vet if you notice odor, discharge, redness, or constant scratching.
Do Cats Really Need Their Ears Cleaned?
Cats are famously good at grooming themselves, and their ears are designed to be largely self-maintaining. A small amount of light brown or tan wax is perfectly normal, and in most healthy cats the ear canal naturally moves that wax and debris toward the opening, where it dries up or gets wiped away during regular grooming. This is why many veterinarians say that a healthy cat with clean, odor-free ears may never need a routine cleaning.
That said, some cats do benefit from occasional help. Hairless breeds such as the Sphynx produce wax that has no hair to carry it away, so it tends to build up faster. Cats with allergies, flat-faced breeds like Persians, and cats with folded ears such as the Scottish Fold may also collect more debris because airflow into the ear is limited. Senior cats who groom less thoroughly sometimes need a little extra help as well. For these cats, a gentle cleaning once every month or two, or whenever you see visible dirt, is usually plenty.
The best approach is to check your cat’s ears once a week or so and clean only when you actually see something that needs cleaning.
Understanding Your Cat’s Ear Anatomy
It is much easier to clean ears safely when you understand what is inside them. A cat’s ear has three sections: the outer ear, the middle ear, and the inner ear. The part you can see is the pinna, or ear flap, which funnels sound into the ear canal. Unlike a human ear canal, which is fairly straight, a cat’s ear canal has a distinct L-shape, starting with a vertical section and then turning sharply to run horizontally toward the eardrum.
That bend is exactly why you should never poke anything down into the canal. Anything you push in, whether it is a cotton swab or your fingertip, tends to travel around the corner and pack debris against the eardrum instead of removing it. Your job during a cleaning is to loosen and rinse debris from the vertical portion and let your cat’s natural head shake carry it back out, then wipe up only what you can see.
What Healthy Ears Look Like (and What They Don’t)
Before you clean anything, take a close look at both ears in good light. Healthy cat ears should be pale pink on the inside, clean, dry, and virtually odor-free. A little light wax is fine. Your cat should also tolerate you touching the ear without flinching or pulling away in pain.
Several common problems can show up in the ears, and they look different from one another:
- Ear mites: These tiny parasites cause dark, crumbly debris that resembles coffee grounds, along with intense itching. They are especially common in kittens and in cats that spend time outdoors or live with other pets.
- Yeast infections: These often produce a dark brown or black waxy discharge and a distinctly musty or sweet smell. The ears may look red and feel itchy.
- Bacterial infections: These typically cause yellow or green discharge, a foul odor, and visible pain or swelling.
- Allergies: Food and environmental allergies can lead to red, inflamed ears and recurring buildup, often alongside itchy skin elsewhere on the body.
It is important to understand that ear cleaner is not a treatment for any of these conditions. A cleaning can remove debris so that medication works better, but mites, yeast, and bacterial infections all require a veterinarian’s diagnosis and prescription treatment. If you see anything beyond light wax, it is better to call your vet than to keep cleaning and hoping it resolves on its own.
Supplies You Will Need
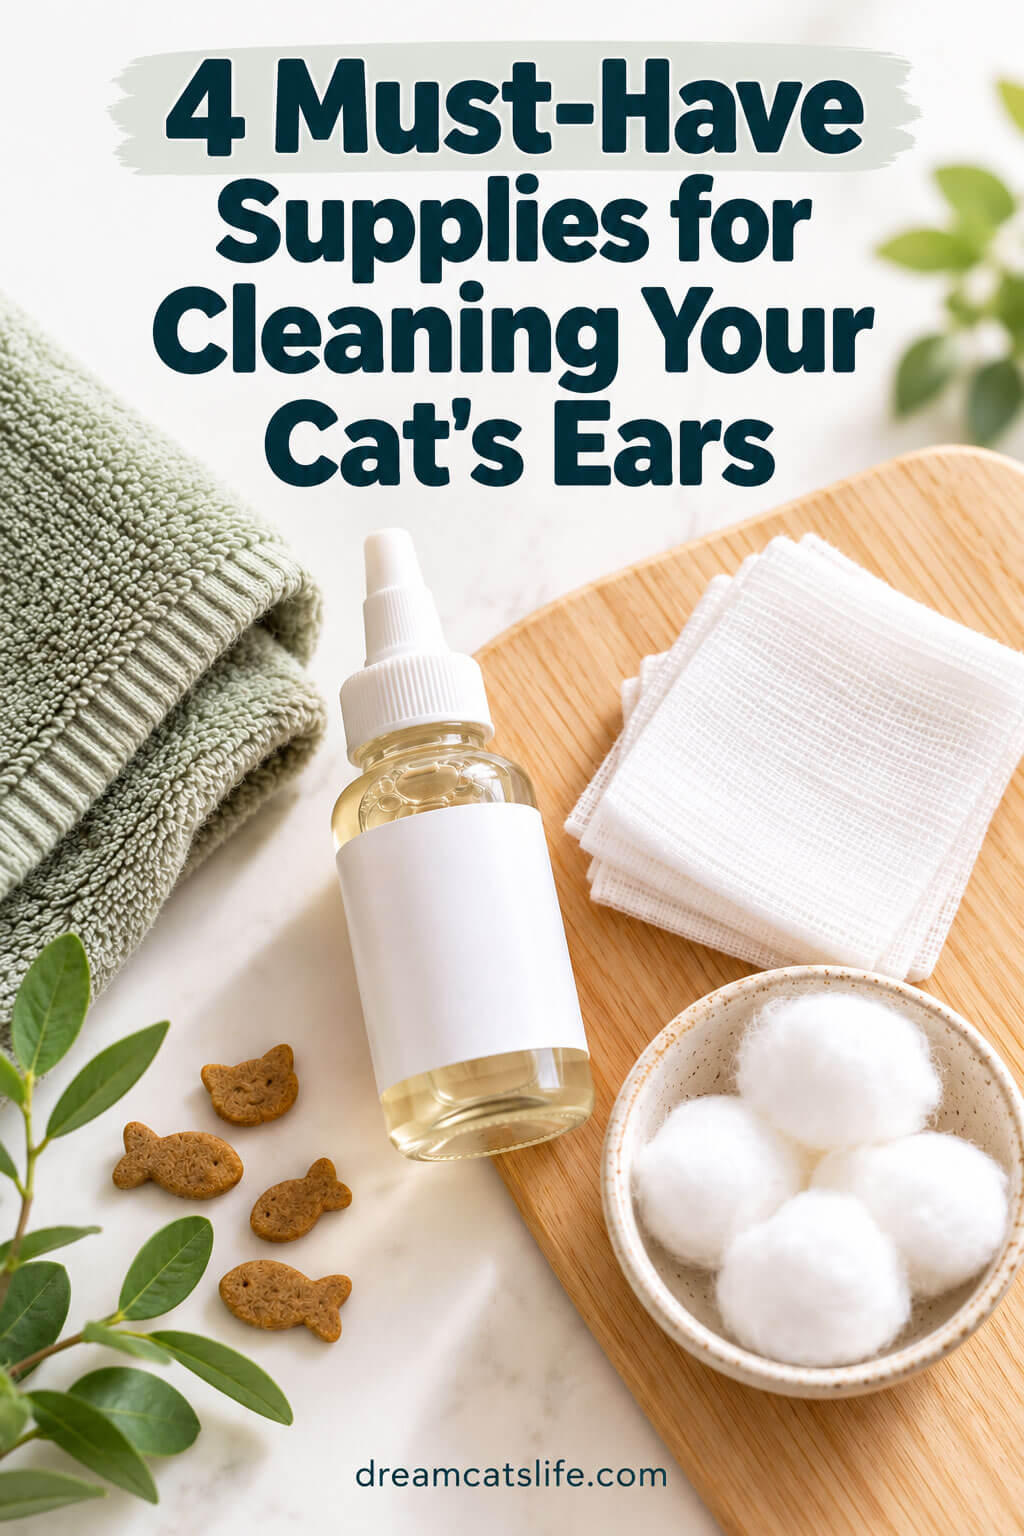
You do not need much to clean your cat’s ears, but choosing the right products matters. Gather everything before you bring your cat into the room so you are not fumbling around mid-cleaning with a squirmy cat in your arms.
A veterinarian-approved ear cleaner
This is the single most important item. Look for a gentle, veterinary-formulated cat ear cleaner that is labeled as safe for cats. These products are designed to dissolve wax, balance the ear’s pH, and dry quickly without stinging. Ask your vet which brand they recommend, particularly if your cat has had ear trouble before, because some ingredients are not suitable for every situation.
Cotton balls or gauze squares
Soft, absorbent material is what you will use to wipe the visible part of the ear. Many owners prefer soft gauze pads because they do not leave fuzzy fibers behind, though large cotton balls work well too. Have several on hand, since you will use a fresh piece for each ear.
A towel or grooming wrap
Many cats feel calmer when they are gently wrapped, and a snug wrap also protects you from sudden claws. A large, soft bath towel does the job nicely, but a cat grooming wrap can make the process easier if you struggle to keep your cat comfortably secured.
High-value treats
Positive associations are what turn ear cleaning from a battle into a routine. Keep something your cat truly loves nearby, such as lickable cat treats, which are especially helpful because your cat can enjoy them while you work.
How to Clean Your Cat’s Ears: Step by Step
Choose a quiet time when your cat is relaxed, such as after a meal or a play session. Trying to clean the ears of a wound-up cat is a recipe for frustration on both sides.
- Set up your space. Lay out the ear cleaner, cotton balls or gauze, treats, and towel on a stable surface, such as a bathroom counter or the top of a dryer. A small room with the door closed prevents escape attempts.
- Get your cat comfortable and warm the bottle. Pet and talk to your cat for a minute or two, and offer a treat; holding the bottle in your hand for a minute takes the chill off the liquid. If your cat is wiggly, gently wrap the body in a towel with just the head exposed, as though you were making a burrito, which tends to feel secure rather than scary.
- Inspect the ear. Hold the ear flap gently and look inside. Note the color, any debris, and any odor. If you see blood, pus, significant swelling, or your cat cries out in pain, stop and call your vet instead.
- Straighten the canal. Hold the tip of the ear flap upright with one hand. This slightly straightens the vertical part of the ear canal and makes it easier for the cleaner to flow in.
- Apply the cleaner. With your other hand, squeeze the ear cleaner into the canal until it fills to the opening, following the directions on the bottle. Do not let the tip of the bottle touch the ear, since this can introduce bacteria and may hurt if your cat jerks suddenly.
- Massage the base of the ear. Keeping the flap upright, gently massage the base of the ear, just below the opening, for about 20 to 30 seconds. You should hear a soft squishing sound as the cleaner breaks up wax and debris. Most cats find this part surprisingly pleasant.
- Let your cat shake. Release the ear and step back, because your cat will almost certainly shake their head vigorously. This is exactly what you want, since it flings loosened debris and excess liquid out of the canal.
- Wipe away the debris. Wrap a cotton ball or piece of gauze around your index finger and gently wipe the inside of the ear flap and the upper part of the canal you can see. Stop where the visible part ends; do not go hunting for dirt down in the canal.
- Repeat on the other ear. Use fresh cotton or gauze for the second ear. Cleaning both ears in one session is helpful, but if your cat has had enough after one, it is perfectly fine to finish later in the day.
- Reward your cat. Finish with praise, a treat, or a play session. The reward is what teaches your cat that ear cleaning leads to good things.
Common Ear-Cleaning Mistakes to Avoid
Most ear-cleaning problems come from well-intentioned shortcuts. These are the mistakes veterinarians see most often, and all of them are easy to avoid once you know about them.
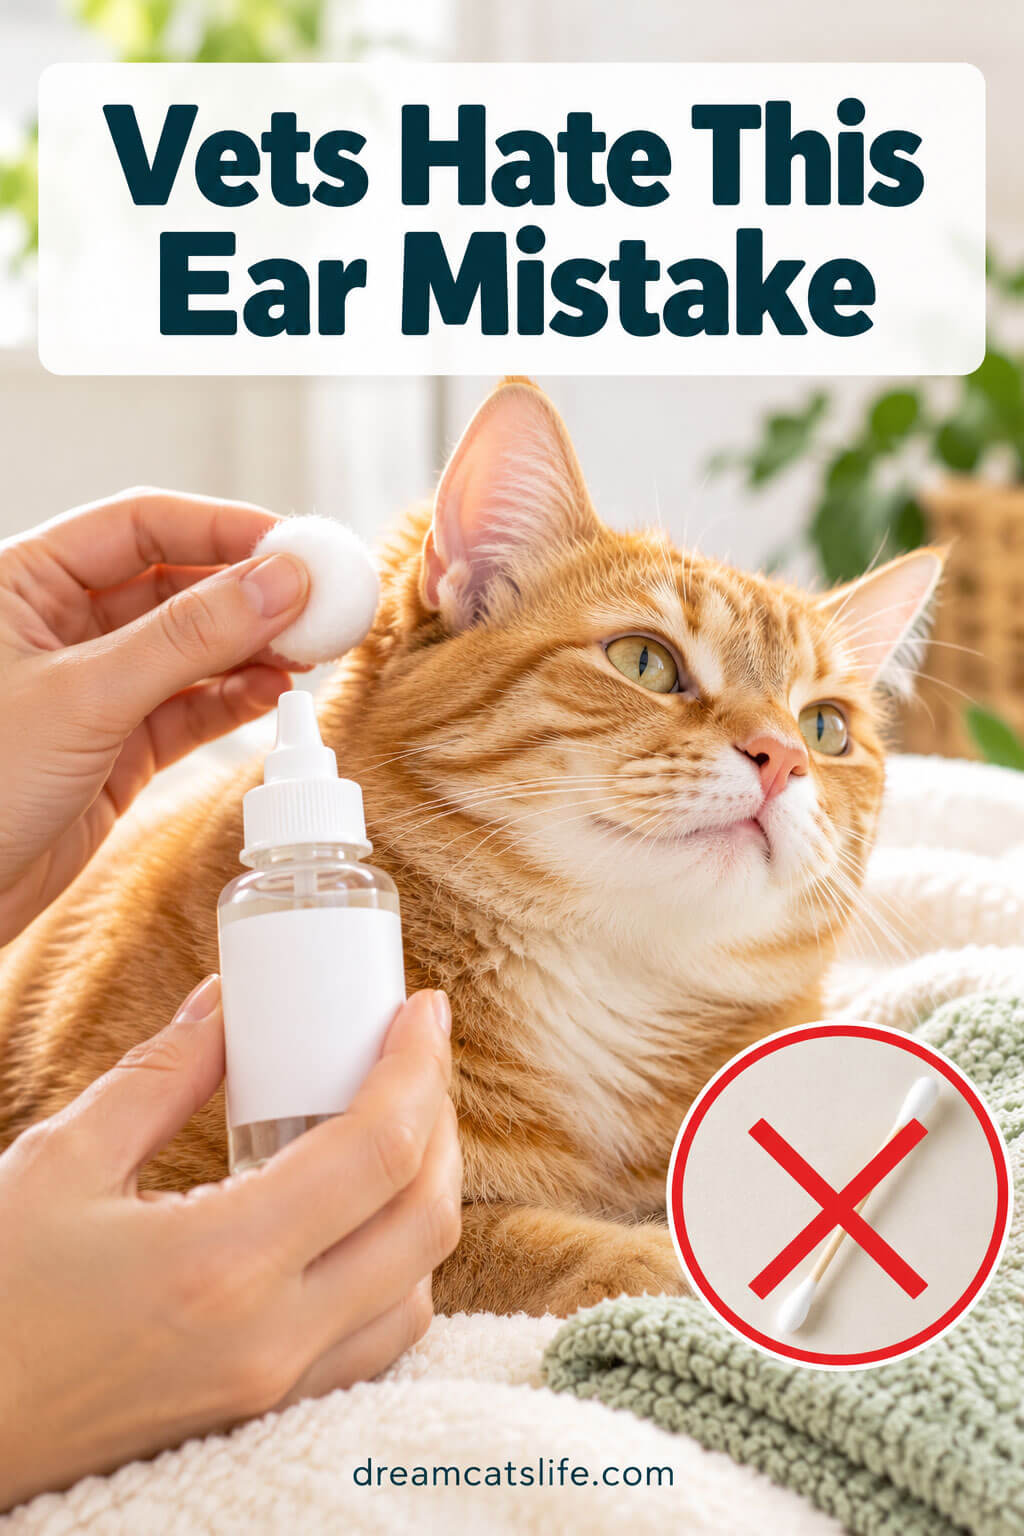
Using cotton swabs
It is tempting to reach for a cotton swab because it seems precise, but cotton swabs are the most common cause of ear-cleaning injuries. Because of the L-shaped canal, a swab tends to pack wax against the eardrum, and a sudden head movement can cause the tip to scratch or even puncture delicate tissue. Stick to cotton balls or gauze wrapped around your finger.
Using hydrogen peroxide, rubbing alcohol, or vinegar
Household liquids may sound gentle, but they are not designed for ears. Hydrogen peroxide and rubbing alcohol can sting, dry out the skin, and irritate already-inflamed tissue, and leftover moisture from improperly diluted products can encourage infection. Unless your vet specifically instructs you to use a home remedy, stay with a product made for cats.
Using essential oils or “natural” remedies
Cats process certain compounds very differently from people and dogs, and many essential oils, including tea tree oil, are toxic to cats. Even a small amount absorbed through the skin of the ear can cause serious problems. Skip homemade ear mite treatments and oil-based remedies entirely.
Cleaning too often
More is not better. Frequent cleaning removes the ear’s natural protective wax and can cause inflammation that leads to even more buildup. If your cat’s ears seem to need cleaning every few days, that is a sign of an underlying issue that deserves a vet visit, not a more aggressive cleaning routine.
Cleaning an ear that may be infected or painful
If your cat’s ears are red, swollen, smelly, or painful, cleaning them at home can make things worse. In some cases, an infection may have damaged the eardrum, and certain cleaning solutions are not safe if the eardrum is not intact. Have the vet examine the ear first, and only clean at home with the product and schedule they recommend.
Tips for Cats Who Hate Ear Cleaning
Not every cat takes to ear cleaning gracefully, and that is completely normal. If your cat tenses up the moment you touch their ears, a gradual approach usually works better than muscling through.
Start by simply getting your cat used to having their ears touched during relaxed petting sessions, pairing each touch with a treat. After a few days, progress to gently folding the ear back and looking inside, again followed by a reward. Later, introduce the bottle and the cotton ball as neutral objects before they are ever used. This slow process can feel tedious, but it often makes the difference between a cat who tolerates cleaning and one who bolts at the sight of the bottle.
Special Considerations: Kittens, Seniors, and Specific Breeds
Kittens are especially prone to ear mites, particularly if they came from a shelter, a rescue, or an outdoor litter. If your new kitten is scratching at their ears or has dark debris inside them, take them in for an exam rather than trying to clean it away yourself, because mites need medication and spread easily to other pets. Their ears are also tiny and delicate, so it is best to have your vet show you how to handle them.
Senior cats may need extra attention because they often groom less, develop arthritis that makes self-grooming harder, and have a higher risk of growths or polyps in the ear. Any new swelling, odor, or one-sided ear problem in an older cat is worth a veterinary visit.
When to Call the Vet
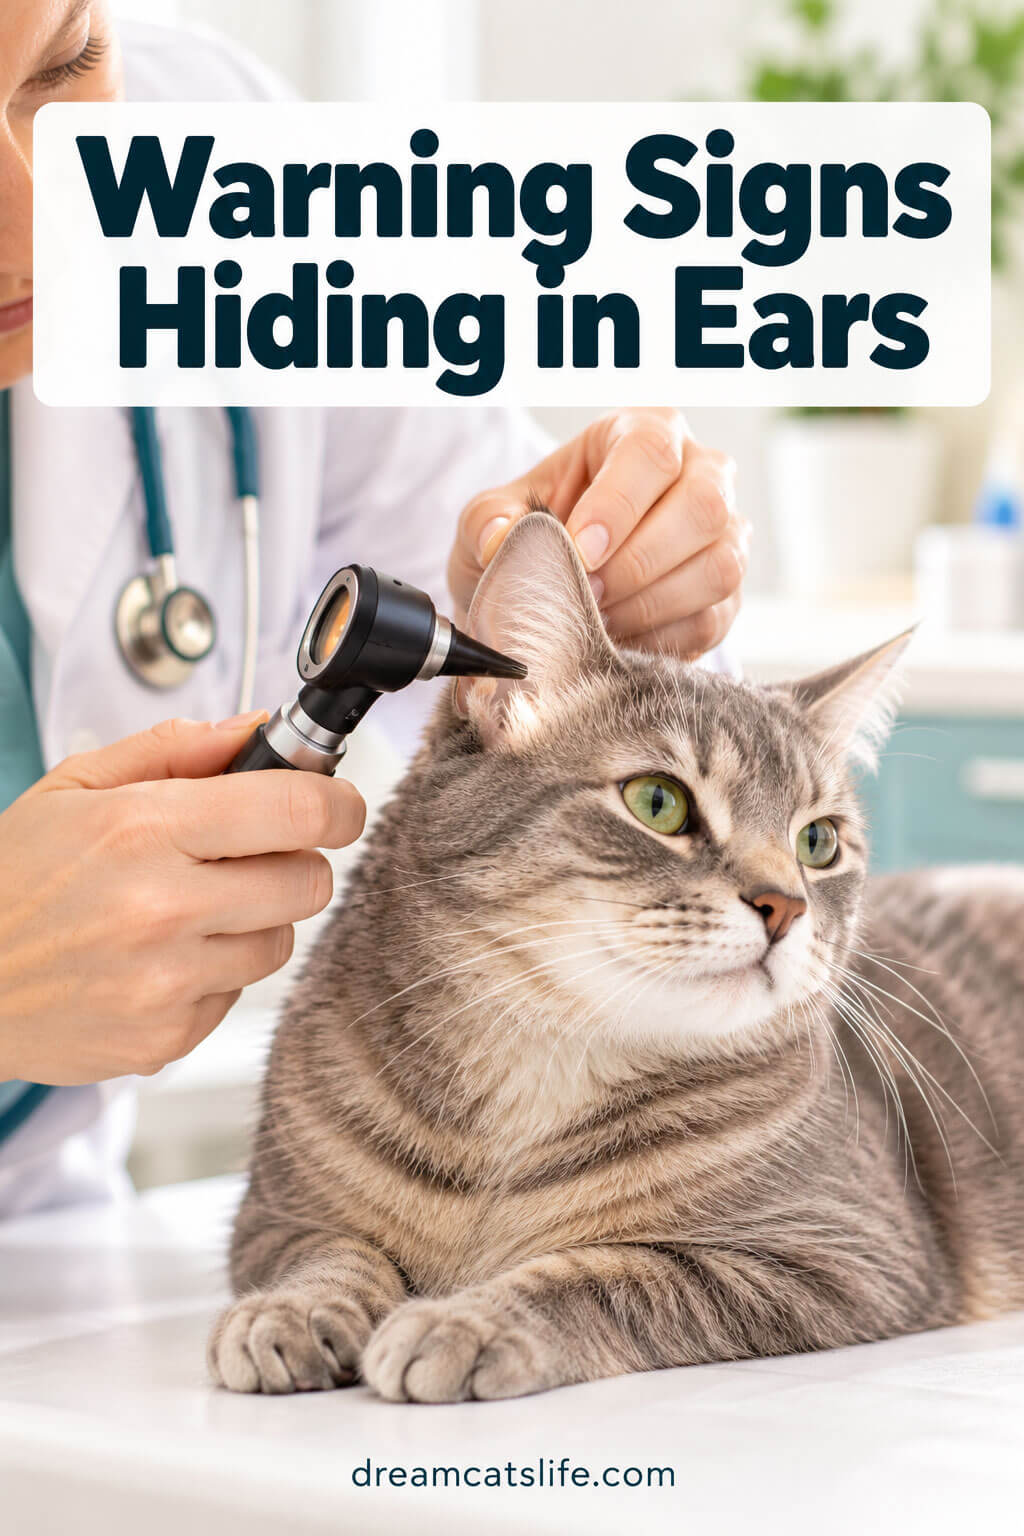
Home ear cleaning is meant for routine maintenance, not for treating illness. Contact your veterinarian promptly if you notice any of the following:
- A strong or foul odor coming from the ear
- Yellow, green, bloody, or black coffee-ground-like discharge
- Redness, swelling, or heat in the ear flap
- Constant scratching, head shaking, or rubbing the ear on furniture
- Crying or pulling away when you touch the ear
- A head tilt, loss of balance, or unusual eye movements
- A swollen ear flap that feels like a water balloon, which can indicate an aural hematoma
A head tilt, stumbling, or sudden loss of balance can signal that an infection has reached the middle or inner ear, so do not wait on these symptoms.
Frequently Asked Questions
How often should I clean my cat’s ears?
Most healthy cats only need cleaning when you can see visible dirt or wax, which for many cats means once every month or two. Check the ears every week or so, and ask your vet about a custom schedule if your cat is a hairless or flat-faced breed.
Can I use a cotton swab to clean my cat’s ears?
No. Cotton swabs can push debris deeper, and they risk injuring the eardrum. Use a cotton ball or gauze square wrapped around your finger instead, and wipe only the parts of the ear you can see.
What is the black stuff in my cat’s ears?
Dark, crumbly debris that resembles coffee grounds is often a sign of ear mites, though yeast infections can cause dark, waxy buildup as well. Since both require veterinary treatment, schedule an exam rather than just cleaning the ears.
Final Thoughts
Cleaning your cat’s ears is one of those small routines that pays off in big ways, not only because it keeps the ears comfortable, but because it gives you a regular opportunity to notice changes before they turn into problems. The key points are simple: clean only when needed, use a cat-safe cleaner, never go digging with swabs, and let your cat’s head shake do part of the work. Pair every session with plenty of patience and a treat your cat adores, and the whole process can become a quiet moment of care that strengthens the bond between you.
When in doubt, trust your instincts and your veterinarian. If something about your cat’s ears looks, smells, or feels wrong, a quick exam can give you answers and peace of mind, and your cat will thank you for it in the best way they know how: with a happy purr and a head bump against your hand.
This article is for general informational purposes and is not a substitute for professional veterinary advice. If you are concerned about your cat’s health, please consult your veterinarian.