How to Trim Your Cat’s Nails Without Stress: The Complete Guide to a Calm Cat Manicure
If the mere thought of nail trimming sends your cat sprinting under the bed, you’re not alone. Learning how to trim your cat’s nails is one of those grooming tasks that sounds simple in theory but can feel like a wrestling match in practice. The good news? With the right technique, tools, and a little patience, you can turn nail trimming into a quick, low-drama part of your routine — essentially a cat manicure your feline won’t dread.
This guide walks you through everything you need to know about cat nails: why trimming matters, how to do it safely, which mistakes to avoid, and how to keep the whole experience calm from start to finish. Whether you have a laid-back lap cat or a wriggly escape artist, you’ll find practical, vet-informed advice here to help you trim cat nails confidently and without stress.
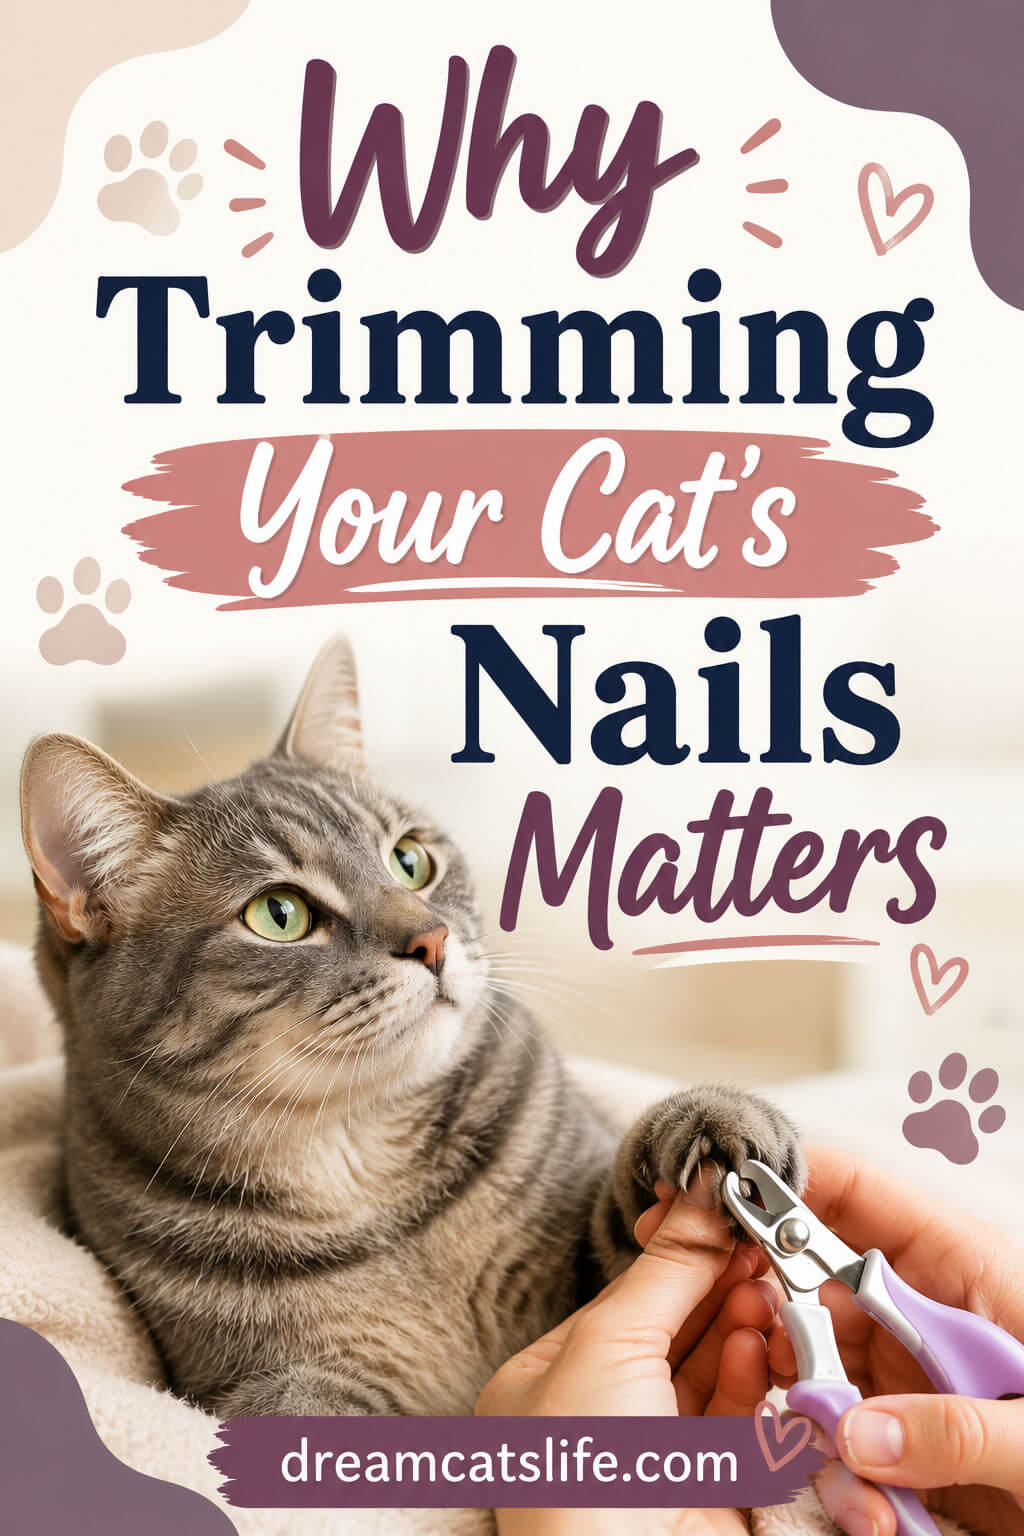
Why Trimming Your Cat’s Nails Matters
Many cat owners assume that because their cat scratches furniture, posts, or cardboard, their nails are naturally “taken care of.” In reality, scratching only removes the outer sheath of the nail — it doesn’t shorten the nail itself. Left untrimmed, cat nails can grow long enough to curl inward, potentially growing into the paw pad and causing pain or infection, especially in older or less active cats.
Regular nail trimming offers several real benefits:
- Prevents painful ingrown nails, particularly in senior cats who scratch less
- Reduces damage to furniture, carpets, and curtains
- Protects you, your family, and other pets from accidental scratches
- Makes handling easier overall, since a cat used to having its paws touched is calmer during vet visits, grooming, and everyday cuddles
- Helps you spot health issues early, such as nail bed infections, cracked claws, or abnormal growth
Think of it less as a chore and more as a small act of preventive care — similar to brushing teeth or checking ears. Once it becomes routine, most cats tolerate it far better than owners expect.
How Often Should You Trim Cat Nails?
Most indoor cats need a trim every two to three weeks. Outdoor cats or highly active climbers may wear their nails down naturally and need trims less often. Kittens grow nails quickly and may need more frequent, gentle sessions to help them get used to the process early.
A simple way to check: gently press on your cat’s paw pad to extend the claws. If the nail curves noticeably or the tip looks sharp and long, it’s time for a trim.
Getting Ready: Tools That Make a Real Difference
Before you even pick up your cat, having the right equipment ready is one of the most overlooked keys to a stress-free session. Trying to use dull scissors or human nail clippers is a common mistake — cat nails have a different shape, and improper tools can crush rather than cleanly cut the nail, causing pain and making your cat associate the experience with discomfort.
Invest in a pair of cat-specific nail clippers. Guillotine-style and scissor-style clippers are both popular; scissor-style tends to give more control for beginners. If you’re shopping for one, this is a good place to start: 👉 Cat nail clippers on Amazon
Other tools worth having on hand:
- Styptic powder or gel — stops bleeding instantly if you accidentally cut the quick (the nerve- and blood-vessel-rich part of the nail). Every cat owner should have this in their grooming kit, even experienced ones. 👉 Styptic powder for pets on Amazon
- Soft towel for gentle wrapping (more on this below)
- High-value treats for positive reinforcement 👉 Cat treats on Amazon
- A nail file or grinder for cats who dislike clippers or for smoothing sharp edges afterward 👉 Cat nail grinder on Amazon
Having everything within arm’s reach before you start means you won’t need to pause mid-session to search for supplies — a pause that can easily break your cat’s calm state and turn a five-minute task into a chase around the living room.
Step-by-Step: How to Trim Cat Nails Without Stress
1. Choose the Right Moment
Timing matters more than most people realize. Never attempt a trim when your cat is playful, agitated, or just woke from a nap startled. The best windows are:
- Right after a meal, when your cat is relaxed and a bit drowsy
- During a calm cuddle session
- After a play session, once your cat has burned off excess energy
Avoid trying to trim nails when guests are over, when there’s loud noise, or when your cat is already anxious about something else happening in the house.
2. Get Your Cat Comfortable With Paw Handling First
If your cat isn’t used to having their paws touched, don’t jump straight to clippers. Spend several short sessions over days or weeks simply touching, holding, and gently massaging your cat’s paws, rewarding calm behavior with treats or praise each time. This desensitization step is arguably the single most important part of learning how to trim your cat’s nails without a fight — it builds trust before any clipper is even introduced.
3. Position Your Cat Comfortably
There’s no single “correct” position — it depends on your cat’s personality:
- Lap method: Sit your cat facing away from you on your lap, so you can see their paws from behind.
- Towel wrap (burrito method): Wrap your cat snugly in a towel, leaving one paw exposed at a time. This works especially well for wriggly or nervous cats, as gentle pressure can have a calming effect similar to swaddling a baby.
- Two-person method: One person holds and soothes the cat while the other trims — helpful for first-timers or particularly squirmy cats.
Whichever method you choose, keep your movements slow and your voice low and soothing throughout.
4. Extend the Nail Properly
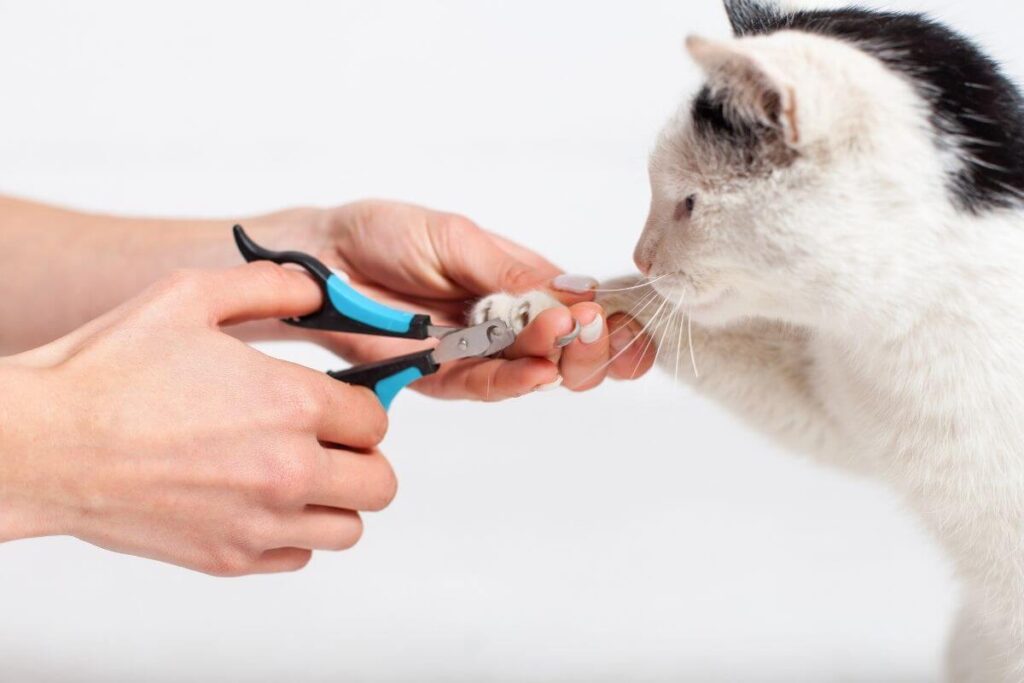
Gently press on the top and bottom of the paw pad, just behind the nail, using your thumb and forefinger. This will naturally extend the claw outward. Never pull or yank on the nail itself — you’re simply applying light pressure to expose it.
5. Identify the Quick
This is the step most beginners find intimidating, but it’s simpler than it looks. In cats with light-colored nails, the “quick” — the pink, blood-vessel-filled inner core — is visible as a pinkish area inside the translucent nail. You want to cut only the clear, pointed tip beyond the quick.
For cats with dark or black nails, the quick isn’t visible. In this case:
- Trim only the very tip of the nail (about 1–2mm)
- Trim in small increments rather than one large cut
- If unsure, ask your vet to show you once in person, or use a grinder tool for more gradual, controlled shortening
6. Make the Cut
Position the clipper perpendicular to the nail (not at an angle) and make a quick, clean, confident cut. A fast, decisive snip causes far less discomfort than a slow, hesitant squeeze, which can pinch rather than cut cleanly.
Trim one or two nails at a time if your cat is new to this, rather than attempting all eighteen nails (twenty, if your cat has polydactyl paws) in one sitting. It’s perfectly fine to spread nail trimming across several short sessions rather than forcing one long ordeal.
7. Reward Immediately
The moment you finish — even if it’s just one nail — offer a treat, gentle praise, or a favorite toy. This positive association is what transforms nail trimming from something to dread into a neutral or even welcome part of your cat’s routine. Consistency in rewarding calm behavior is what makes future trims easier.
Common Mistakes to Avoid
Even well-intentioned owners can make trimming harder than it needs to be. Watch out for these pitfalls:
- Using human nail clippers. They’re shaped wrong for a cat’s claw and are more likely to crush or splinter the nail.
- Cutting too much at once. Clipping into or too close to the quick causes pain, bleeding, and can make your cat fearful of future trims. When in doubt, trim conservatively — you can always take a little more off next time.
- Restraining too tightly. Excessive force triggers a fight-or-flight response. Firm but gentle handling works far better than a tight grip.
- Rushing the whole paw at once. Trying to do all claws in one session with a nervous cat often backfires. Short, positive sessions build trust faster than one marathon attempt.
- Skipping the desensitization phase. Jumping straight to clippers with a cat who’s never had their paws handled is a recipe for a stressful experience for both of you.
- Ignoring body language. Tail flicking, flattened ears, or a low growl are signs to pause and try again later — pushing through these signals only reinforces fear.
- Forgetting the dewclaw. Many cats have a dewclaw (a nail higher up on the inner leg) that doesn’t touch the ground and never wears down naturally. It’s easy to forget, but it needs regular trimming too, since it can grow into a curl and even puncture the paw pad if neglected.
What to Do If You Cut the Quick
Accidents happen, even to experienced owners. If you accidentally cut too far and see bleeding:
- Stay calm — your cat will pick up on your energy.
- Apply styptic powder directly to the tip of the nail and hold gentle pressure for about 30 seconds.
- If you don’t have styptic powder on hand, a small amount of cornstarch or flour can work in a pinch.
- Comfort your cat and end the session on a positive note — don’t attempt more nails right after a mishap.
This is exactly why having styptic powder ready before you start is so important; fumbling to find a solution mid-bleed adds stress for both of you.
Special Considerations for Certain Cat Breeds
While the general technique for how to trim applies to all cats, a few breeds and paw types call for extra attention:
- Polydactyl cats (cats with extra toes, like the famous “Hemingway cats”) often have five, six, or even seven toes per paw. These extra toes mean extra nails that are easy to overlook, and their angle can make them grow in unusual directions, increasing the risk of ingrown nails if missed during trimming. Take extra time to check each toe individually.
- Persian and other flat-faced (brachycephalic) breeds often have less active lifestyles and may scratch less, meaning their nails can grow faster relative to natural wear. Regular, closer monitoring is recommended.
- Maine Coons and other large-breed cats have notably thick, strong nails that may require sturdier clippers and slightly more cutting force — a flimsy clipper can struggle here.
- Senior cats of any breed tend to be less active and groom themselves less thoroughly, so their nails often need more frequent trims and closer inspection for thickening or brittleness, which can be signs of age-related changes worth mentioning to your vet.
- Sphynx and other hairless breeds, being highly tactile and sometimes more sensitive to handling, often benefit especially from the towel-wrap method and extra-slow desensitization.
If you’re ever uncertain about your specific cat’s nail structure or growth pattern, a quick chat with your veterinarian or a professional groomer can offer breed-specific reassurance.
Making Nail Trims Part of a Relaxed Routine
The secret to stress-free trims isn’t a single trick — it’s consistency. Cats thrive on predictability, so folding nail care into a regular routine, paired with calm energy and positive reinforcement, gradually reshapes how your cat perceives the whole process.
A few habits that help long-term:
- Handle your cat’s paws regularly, even outside of trimming sessions, so it never feels like a rare or alarming event.
- Keep sessions short, especially at first — a few nails today, a few more tomorrow.
- Pair trims with something enjoyable, like a favorite treat or a brushing session your cat already loves.
- Watch for stress signals early and stop before frustration builds on either side.
- Celebrate small wins — even one calm nail trimmed successfully is progress worth rewarding.

When to Consider Professional Help
If your cat becomes extremely distressed despite your best efforts, or if you simply don’t feel confident handling the clippers yourself, there’s no shame in turning to a professional groomer or your veterinary clinic. Many vet offices offer quick nail trims as a stand-alone service, and groomers are experienced in working with anxious cats. Over time, watching a professional handle the process can also give you tips and confidence to try it at home again.
Final Thoughts
Learning how to trim your cat’s nails doesn’t have to be a dreaded monthly showdown. With patience, the right tools, a calm environment, and a gradual approach to building trust, most cats can learn to tolerate — and some even come to accept — a simple cat manicure as just another normal part of life at home.
Start slow, celebrate small victories, keep your styptic powder handy, and remember: every successful, low-stress trim makes the next one easier. Over time, what once felt like a stressful ordeal can become a quick, quiet moment of care between you and your cat.