4 Super Cool DIY Cat Tree Ideas: A Step-by-Step Guide for Total Beginners
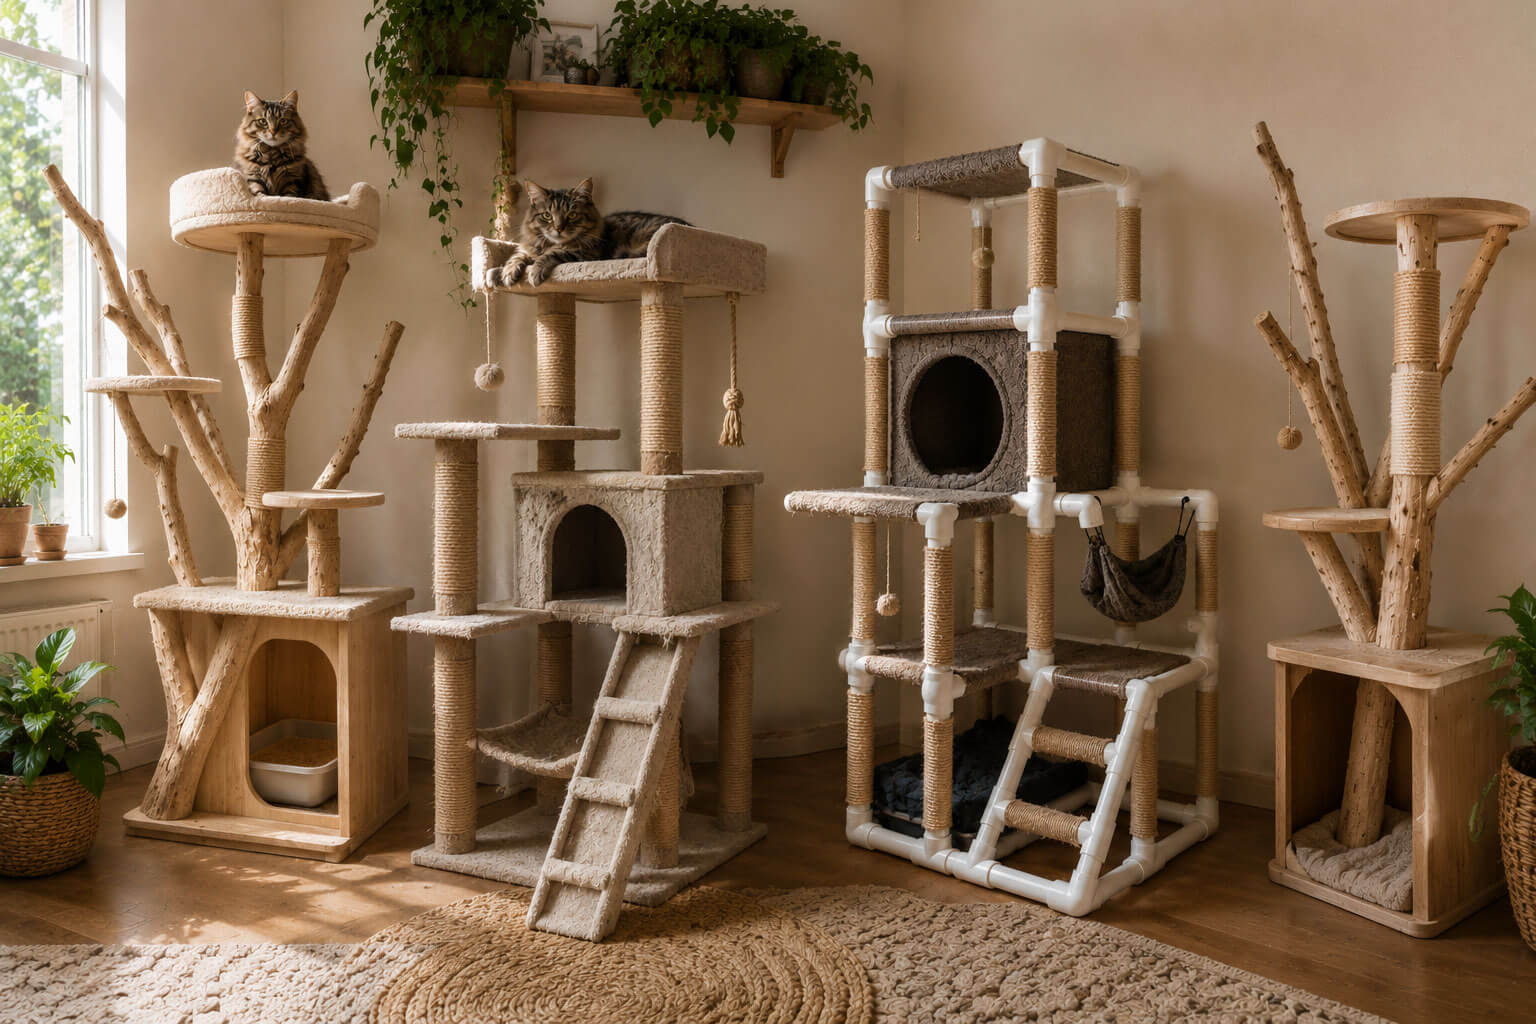
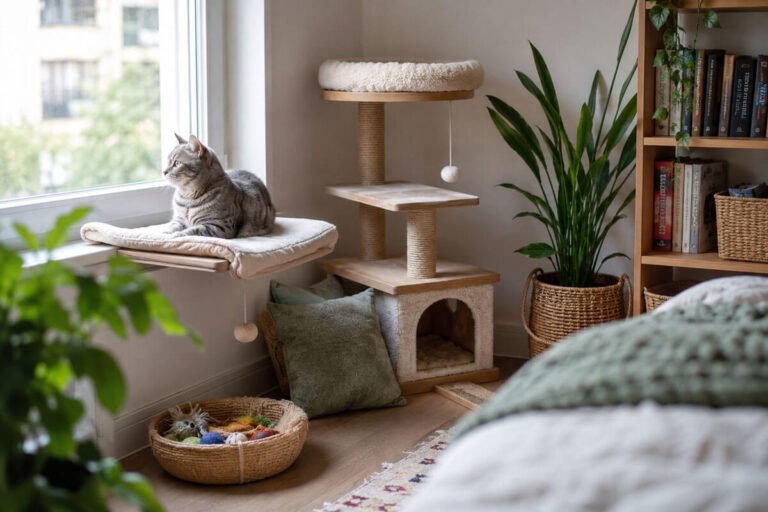
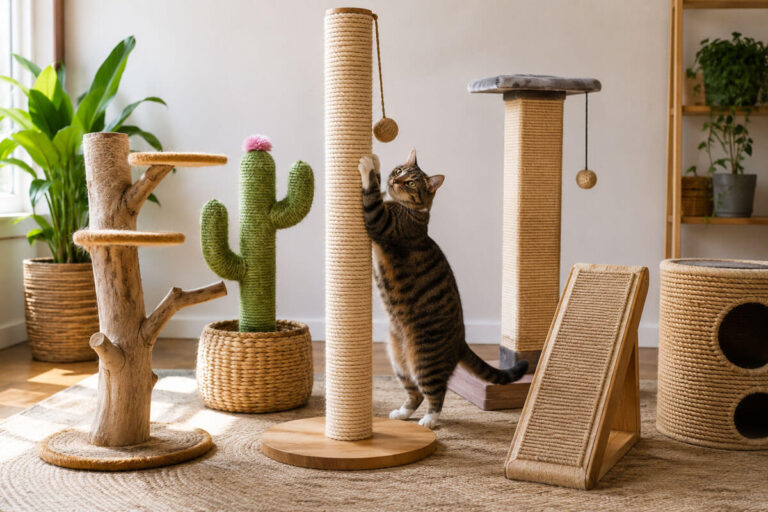
If this is your first time building a DIY cat tree, you’re in the right place. In this guide I’ll walk you through four completely different styles — from a natural tree trunk build to a classic carpet-wrapped cat tower — the same way I’d talk you through it if I were standing next to you in the garage. You’ll get exact material lists, build order, pro tips, and the mistakes most first-timers make so you can dodge them entirely.
All four ideas below are inspired by real, tested DIY cat tree projects, so you’re not getting theoretical advice — you’re getting solutions that have actually worked for real cat owners. By the end of this article, you should feel confident enough to start your own cat tree project, whether or not you’ve ever picked up a drill before.
Before You Start: Tools, Materials, and Safety Basics
A great DIY cat tree isn’t great because it’s complicated — it’s great because it’s sturdy, safe, and your cat actually uses it. Before you dive into any of the four builds below, run through this checklist first.
Essential tools
- Cordless drill/driver (with both long and short bits)
- Saw (handsaw or circular saw, depending on your material)
- Heavy duty staple gun (for carpet and fabric)
- Tape measure and level
- Sandpaper (coarse and fine grit)
- Hot glue gun or wood glue
If you don’t already own a cordless drill or a heavy duty staple gun, these are the two to start with:
Cordless drill/driver on Amazon
Heavy duty staple gun on Amazon
Core materials you’ll need for almost any cat tree
- Base: thick particleboard (MDF) or plywood, at least 3/4 inch thick
- Support posts: PVC pipe, wood posts, or real tree branches, depending on the project
- Covering: sisal rope for scratching surfaces, carpet or plush fabric for resting surfaces
- Fasteners: wood screws, L-brackets, wood glue
Beginner tip: Always start with the base, and sketch out the whole structure on paper before you cut anything. In 9 out of 10 DIY cat tree projects, the biggest mistake shows up mid-build — when it turns out the base is too small or too light for the rest of the structure.
Safety basics
A cat tree isn’t just furniture — it’s something your cat will jump on, claw, and put its full body weight against. Never skip these rules:
- Never use paint, varnish, or sealant on any surface your cat might lick or chew — stick to pet-safe, solvent-free products only.
- Avoid staples or nails anywhere a cat’s paw or tongue could reach them.
- Sand every drilled hole and sharp edge before you add any covering.
- The base weight should scale with height: the taller the tree, the wider and heavier the base needs to be.
Idea #1: A Cat Tree Built From a Natural Tree Trunk
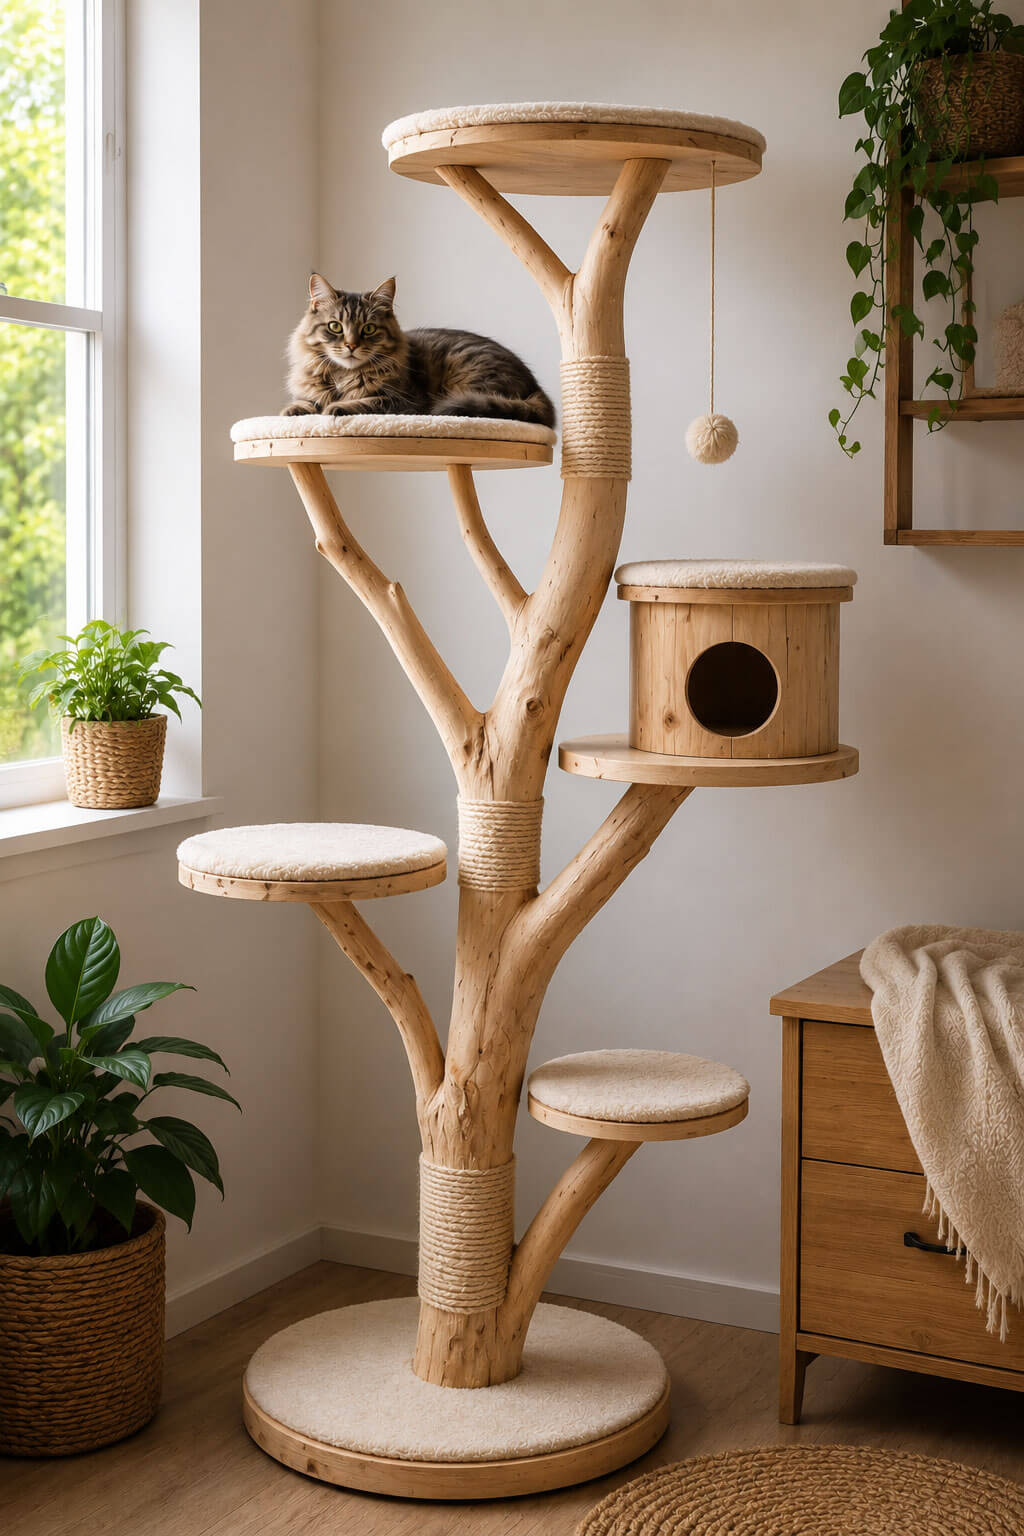
This is one of the most beautiful, natural-looking DIY cat tree projects you can build: a real, cleaned tree trunk or thick branch becomes your frame, mounted on a sturdy base and finished off with shelves and resting perches. The end result looks like a slice of forest moved into your living room — and cats love it, because real bark texture is perfect for climbing and scratching.
What you’ll need
| Material | Quantity / size |
|---|---|
| Dry, untreated tree trunk or driftwood | 1, roughly 4–6 ft tall |
| Thick base board | at least 24×24 in, 1.25 in thick |
| Metal mounting plate or bracket | sized to the trunk diameter |
| Plywood for shelves | 2-3 pieces as needed |
| Plush or faux-fur fabric | to cover the shelves |
Step by step
- Choose and clean your trunk. Strip off any loose, flaking bark, then let it dry completely for at least 1-2 weeks in a dry, ventilated spot. Damp wood can grow mold, which is dangerous for your cat.
- Disinfect the wood. If it came from outdoors, give it a good wash, then either freeze it overnight (if it fits) or let it bake in direct sun for a day to kill off any insects or eggs hiding in the bark.
- Build the base. Cut a board at least 24×24 inches from thick plywood or MDF. The wider and heavier it is, the more stable your finished tree will be.
- Mount the trunk to the base. The safest method is a metal mounting plate, or several long, thick screws driven up through the base into the bottom of the trunk. Reinforce with wood glue for extra hold.
- Plan your shelf placement. Cut 2-4 shelves of different sizes from plywood, then mark where you want to attach them on the trunk — aim for smaller shelves higher up and larger ones lower down, which keeps the weight distribution stable.
- Drill and screw. Drill through the shelf into the trunk, then secure with a long wood screw. Reinforce from below with an L-bracket wherever needed.
- Wrap every edge in plush or faux fur. Fold the fabric over the shelf edges and staple it to the underside so there’s no exposed, sharp edge anywhere.
- Let it sit for 24 hours before your cat gets access — this gives every glue joint and screw time to fully set.
Pro tip: If your trunk isn’t thick enough to be stable on its own, drill a long metal rod or thick wood dowel deep into both the trunk and the base — it’s invisible once assembled, but it dramatically boosts load-bearing strength.
Common mistakes and how to fix them
Mistake: A base that’s too small or too light, so the tree tips over under the trunk’s weight or a jumping cat.
Fix: Aim for a base diameter that’s at least 40-50% of the trunk’s height, and hide extra weight (like a sandbag) under the base board if needed.
Mistake: Damp or untreated bark that starts growing mold within a few weeks.
Fix: Always wait until the wood is completely dry, and check the hidden underside of the trunk regularly.
Mistake: Sharp metal screw heads poking through the fabric covering on the shelves.
Fix: Countersink the screw heads into the wood first, then add the plush or faux-fur covering on top.
Helpful for this project:
🌿 Natural wood cat tree kits
🪑 Plush fabric for cat furniture
Idea #2: A Classic Multi-Level Board-and-Carpet Cat Tree
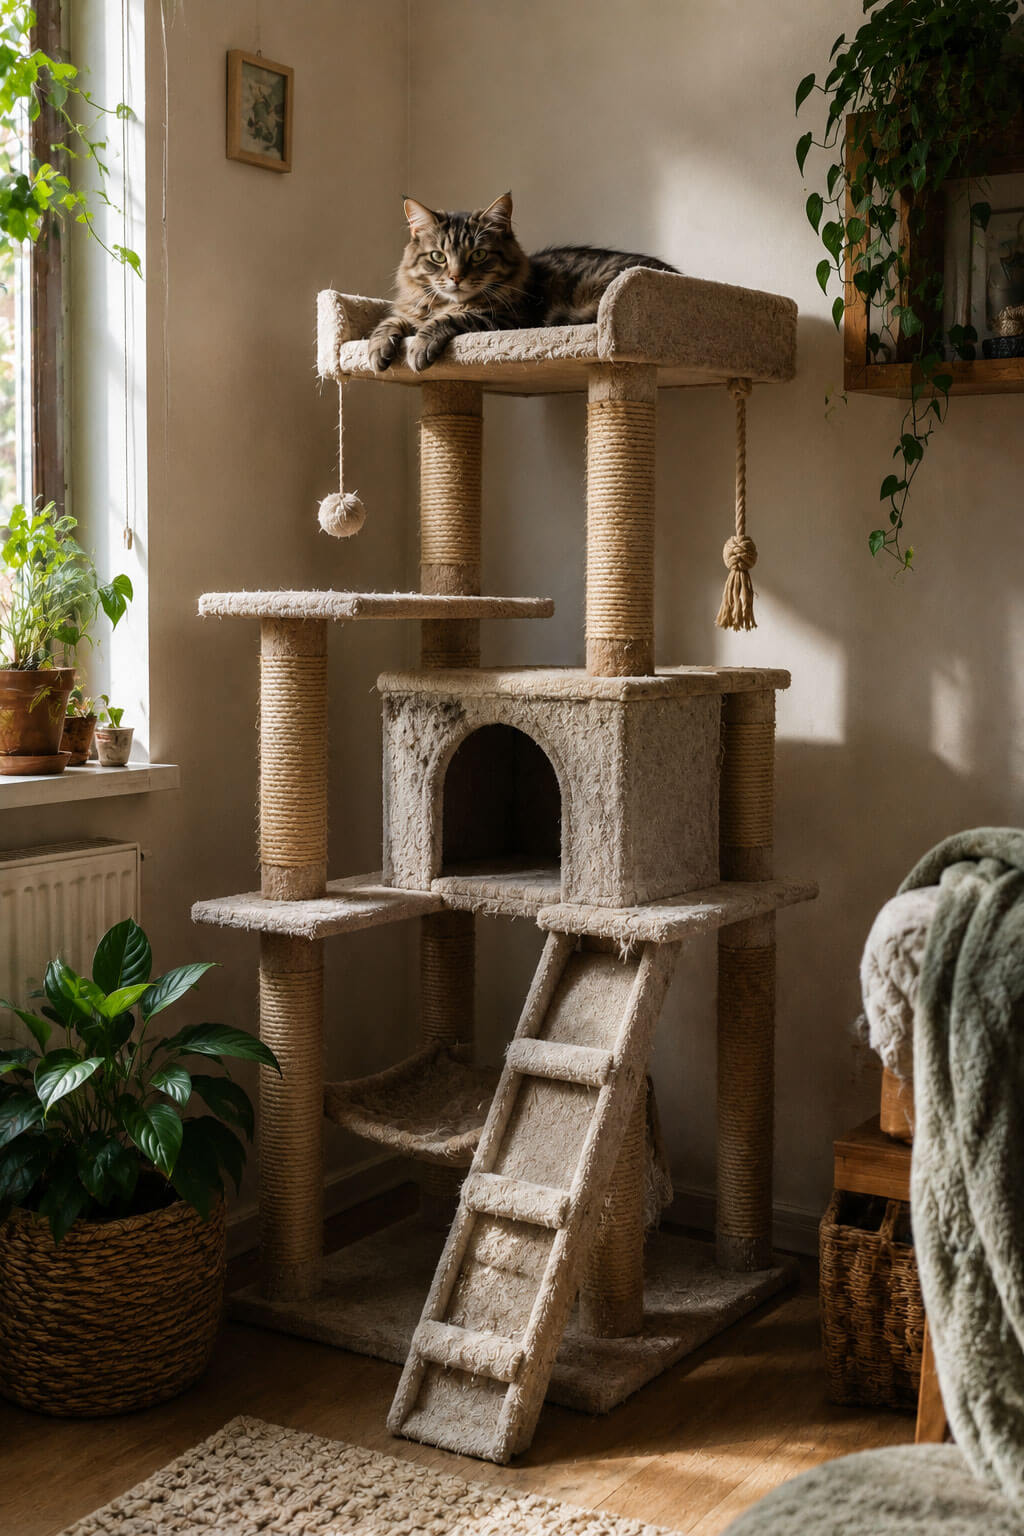
This is the most recognizable DIY cat tree style: a wood-framed, multi-level build with scratching posts, platforms, and small toys built in. It’s the perfect idea if you want your cat to have several different resting and play spots in one piece of furniture, and you like the traditional cat tower look.
What you’ll need
| Material | Quantity / size |
|---|---|
| Plywood for platforms | 4-6 pieces, various sizes |
| Square wood support posts | 4-6, 2×2 in |
| Carpet or upholstery fabric | to cover the platforms |
| Thick sisal rope | for scratching surfaces |
| Screws, L-brackets | as needed |
Step by step
- Plan your levels. Sketch it out on paper first: how many platforms, at what height, and how they connect (staggered around the posts or stacked straight up).
- Cut the platforms. Round or oval shapes work best since they have no sharp corners. Make the bottom platform the biggest — it does most of the work for stability.
- Cut the posts to length. Aim for 10-16 inches of height difference between levels, so your cat can comfortably jump from platform to platform.
- Screw the frame together. Attach posts to platforms from both top and bottom, ideally driving the screw from inside the platform into the post so nothing shows on the outside.
- Wrap the posts in sisal rope. Apply a thin layer of wood glue, then wind the rope tightly and evenly from bottom to top, pulling snug with every wrap.
- Upholster the platforms. Cut carpet pieces about 3-4 inches larger than each platform, fold the edges under, and staple them to the underside.
- Secure the whole structure to the base. The bottom, largest platform can double as the base, or you can screw it to an even bigger separate base board.
- Add the extras: dangling toys, small baskets, tunnels — these are what really push a build from “cat tree” into “super cool cat tree.”
Pro tip: Always wind the sisal rope in one consistent direction, pulled tight, and staple it to the post every so often (hidden under the rope) — this keeps it from loosening over months of scratching.
Common mistakes and how to fix them
Mistake: Too much height difference between platforms, so your cat ignores the top levels.
Fix: Stick to the 10-16 inch rule of thumb, or add an in-between step if the gap is larger.
Mistake: The sisal rope loosens and slides down the post over time.
Fix: Glue and staple — don’t rely on just one — and always tuck the rope’s start and end under a screw or staple.
Mistake: The top levels wobble because the posts are too thin.
Fix: Don’t go thinner than 2×2 inches for anything over three levels, and add a second support post for taller platforms.
Useful for this project:
🪢 Sisal rope for cat trees
🧵 Carpet remnants for cat furniture
Idea #3: A Branch Cat Tree With a Built-In Litter Box Nook
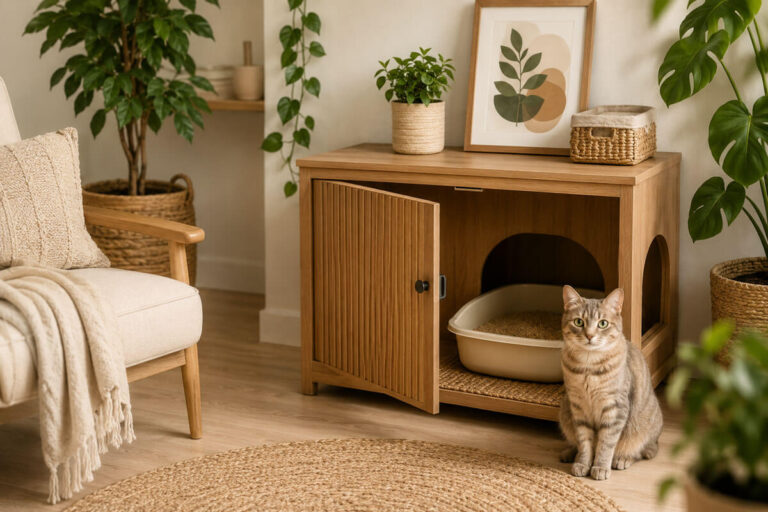
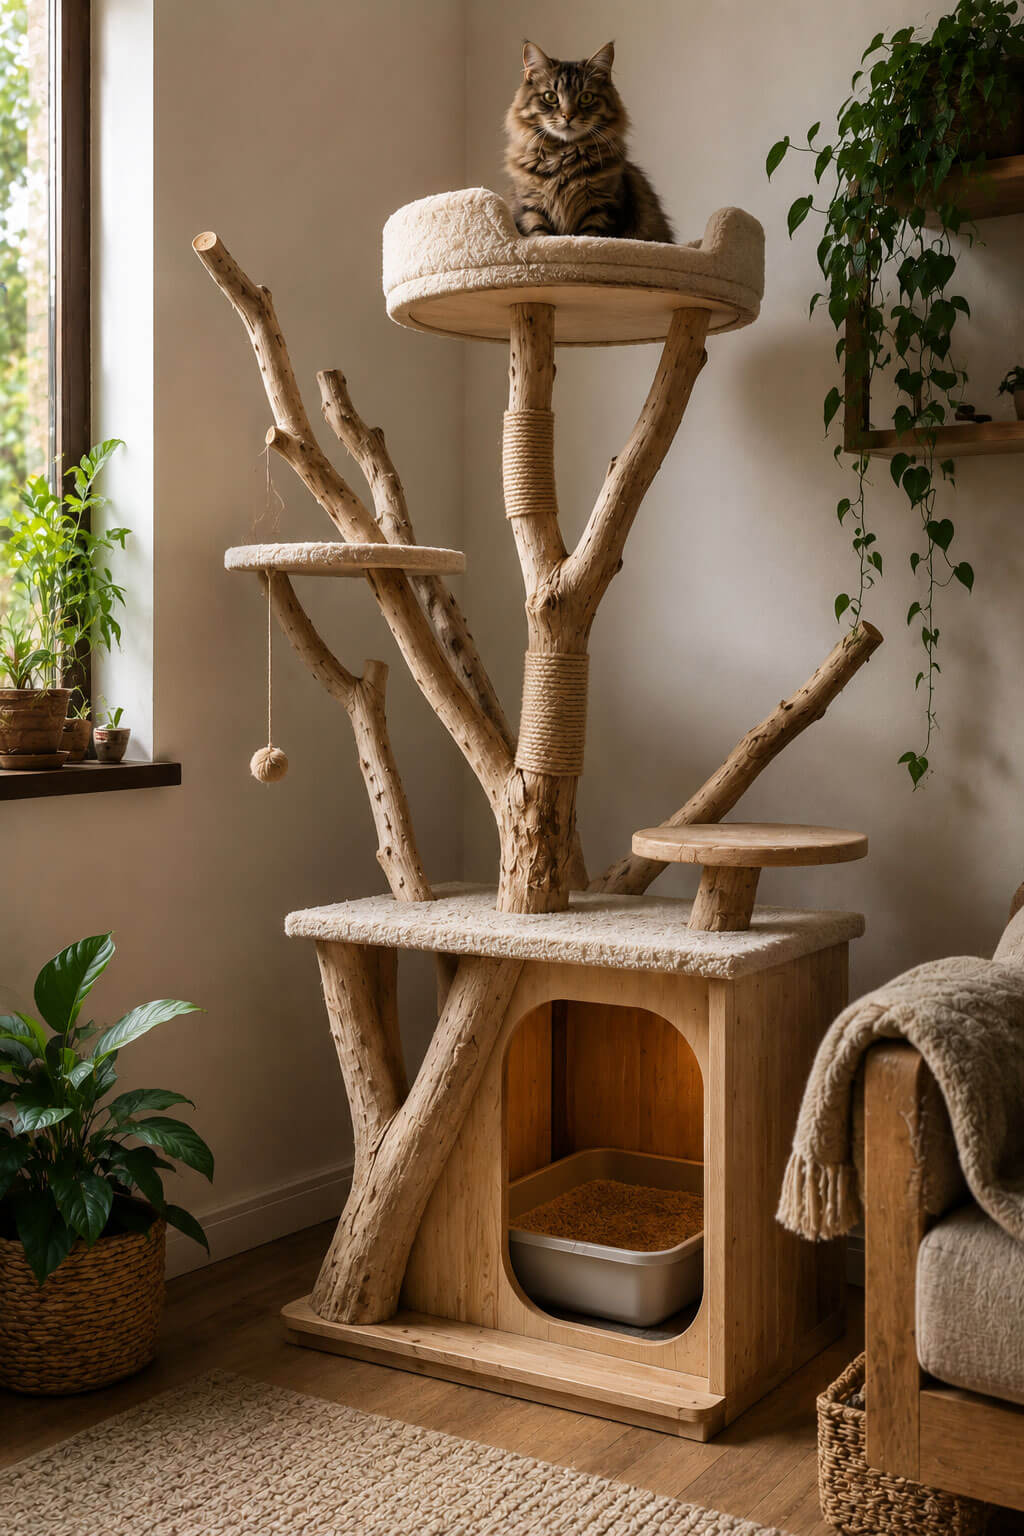
This variation is both practical and good-looking: you build a frame out of real, branching tree limbs, and design a hidden litter box compartment right into the base. It’s an especially smart move for small apartments, since it combines furniture and a discreet litter box space into one attractive piece.
What you’ll need
| Material | Quantity / size |
|---|---|
| Thick, branching limbs | 2-4, sized to your desired height |
| Plywood for the box frame | sized to your litter box |
| Hinge and cut-out entry door | 1 set |
| Shelves / resting perches | 2-3 |
| Vent holes or vent grille | for the side of the box |
Step by step
- Plan your litter box compartment size around your actual litter box — leave at least 4-6 inches of room on every side for your cat to move.
- Build the box frame out of plywood: base, sides, and lid. Hinge the lid so you can easily access the litter box for cleaning.
- Cut an entry opening in the side of the box, with rounded, sanded edges so your cat can move through it comfortably.
- Drill ventilation holes in the top or back of the box so odors don’t get trapped inside.
- Mount the branches to the top and side of the box. Drive long screws up from below, and reinforce joints with wood glue if needed.
- Build 1-2 resting shelves at natural forks in the branches — these can get a soft covering too.
- Sand every sharp surface, especially the entry opening’s edges and any branch stubs.
- Test the stability by shaking and leaning on the structure before you add the litter box and introduce your cat.
Pro tip: Never permanently glue the litter box lid shut — keep it easy to open so you can access it for cleaning. A simple magnetic latch next to the hinge works great.
Common mistakes and how to fix them
Mistake: An entry opening that’s too small, so your cat struggles to get in and out.
Fix: Make the opening at least 1.5-2 inches wider than your cat’s chest, with rounded corners.
Mistake: Not enough ventilation, so the box traps odor inside.
Fix: Drill several smaller vent holes instead of one big one, and add odor-neutralizing litter inside the box.
Mistake: Branches aren’t secured firmly enough, so the top of the box wobbles.
Fix: Screw every branch through at least two points into the box lid, and if possible, sink a short wood dowel into the base of the branch for extra stability.
Worth checking out for this project:
🐾 Hidden litter box furniture
🔩 Heavy duty wood screws
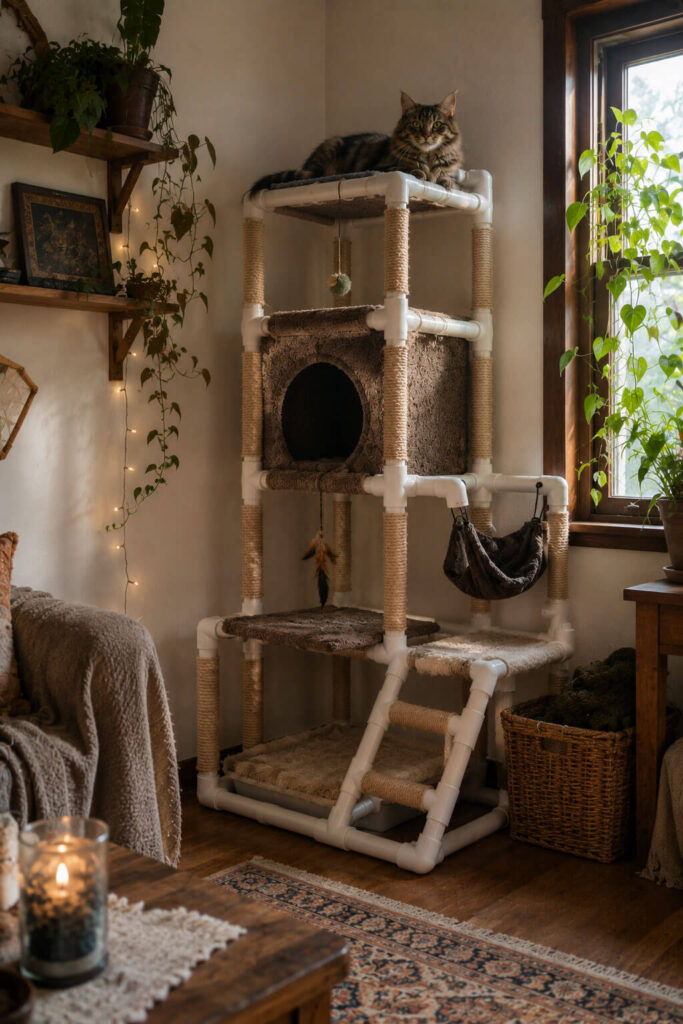
Idea #4: A PVC-Frame Cat Tower Wrapped in Sisal Rope
If you’re after something fast, cheap, and easy to modify, this fourth idea is for you. A frame built from PVC pipe is incredibly easy to cut, extend, and expand, which makes it ideal if you’re just learning the basics of DIY and want a simple but effective build.
What you’ll need
| Material | Quantity / size |
|---|---|
| PVC pipe (roughly 3-4 in diameter) | sized to your desired height |
| PVC base fitting or metal mounting disc | 1-2 |
| Plywood for the base and shelves | as needed |
| Sisal rope | enough to cover the full pipe length |
| Wood glue, screws | as needed |
Step by step
- Cut your PVC pipe to length at your desired height — a simple handsaw or pipe cutter is all you need.
- Build a heavy base. Since PVC pipe is light, stability depends almost entirely on the base: use a board at least 20×20 inches and at least 1-1.25 inches thick.
- Mount the pipe to the base with a PVC or metal base fitting, screwed up through the bottom of the base.
- Wrap every pipe section in sisal rope. Apply a thin layer of glue, then wind the rope tightly from bottom to top, adding a hidden staple every 4-6 inches under the rope for extra hold.
- Cut out shelves from plywood, and drill a hole in the center sized to match the pipe diameter, so each shelf slides over the pipe like a ring.
- Secure the shelves at your desired heights with a PVC collar or screw underneath so they can’t slide or spin.
- Upholster the shelves in carpet or plush fabric, the same way you did for Idea #2.
- Do a final stability check before letting your cat near it — push down and sideways on the structure to make sure nothing shifts.
Pro tip: PVC pipe sections connect easily with T- and elbow-fittings, so you can build an L-shaped or branching cat tower from a single basic module without redesigning the whole structure.
Common mistakes and how to fix them
Mistake: The tower tips over because the base is too light — it’s easy to underestimate how little PVC pipe weighs.
Fix: Don’t skimp on base weight — hide extra weight (like a concrete paver or sandbag) between the base and the top covering if needed.
Mistake: The sisal rope slips on the smooth PVC surface.
Fix: Always glue as well as wrap, and staple the rope’s start and end point so it can’t unravel.
Mistake: The shelves slide or spin around the pipe.
Fix: Use a support collar or screw both above and below each shelf so it can’t slide up, down, or rotate.
Helpful for this project:
🧱 PVC pipe for furniture builds
🪢 Thick natural sisal rope
The Biggest Mistakes to Avoid, No Matter Which DIY Cat Tree You Build
Beyond the four builds above, there are a few universal rules that apply to any DIY cat tree project, no matter which style you choose.
- Don’t cut corners on the base. Almost every “my cat tree tipped over” story traces back to a base that was too small or too light.
- Always load-test before your cat gets access. Push it, shake it, sit on it if you can — better you find the weak spot than your cat does.
- Avoid toxic materials. Paint, varnish, glue — always double-check that it’s labeled pet-safe.
- Don’t forget the scratching surfaces. A cat tree’s real job isn’t just resting — it’s scratching too, so make sure at least one or two surfaces are built specifically for that.
- Design for expandability. If you build modularly (PVC fittings are great for this), it’s much easier to expand the tower later if you bring home a second cat.
Frequently Asked Questions About Building a DIY Cat Tree
How long does it take to build a DIY cat tree?
Simpler PVC-frame cat towers can be finished in a single weekend, while more complex builds made from a real tree trunk can take 2-4 days once you factor in drying and curing time.
What is the safest wood to use for a cat tree?
Untreated hardwoods free of paint or chemical sprays — like oak, maple, or well-dried driftwood — are the safest option, since they don’t carry anything toxic to cats and hold up well under weight.
How do I make my cat tree more stable?
The base is everything: plan for at least 2 inches of thick, wide base material for every foot of height, and reinforce screwed joints with wood glue for extra strength.
Roughly how much does a DIY cat tree cost to build?
The exact cost depends on your materials, but a mid-sized PVC-frame tower is typically much cheaper than a comparable store-bought cat tree, while a real-tree-trunk build costs mostly time rather than money.
Which idea is best for beginners?
The PVC-frame cat tower wrapped in sisal rope (Idea #4) is the easiest for total beginners, since the materials are simple to cut and mistakes are easy to fix along the way.
Wrapping Up: Which DIY Cat Tree Idea Fits You Best?
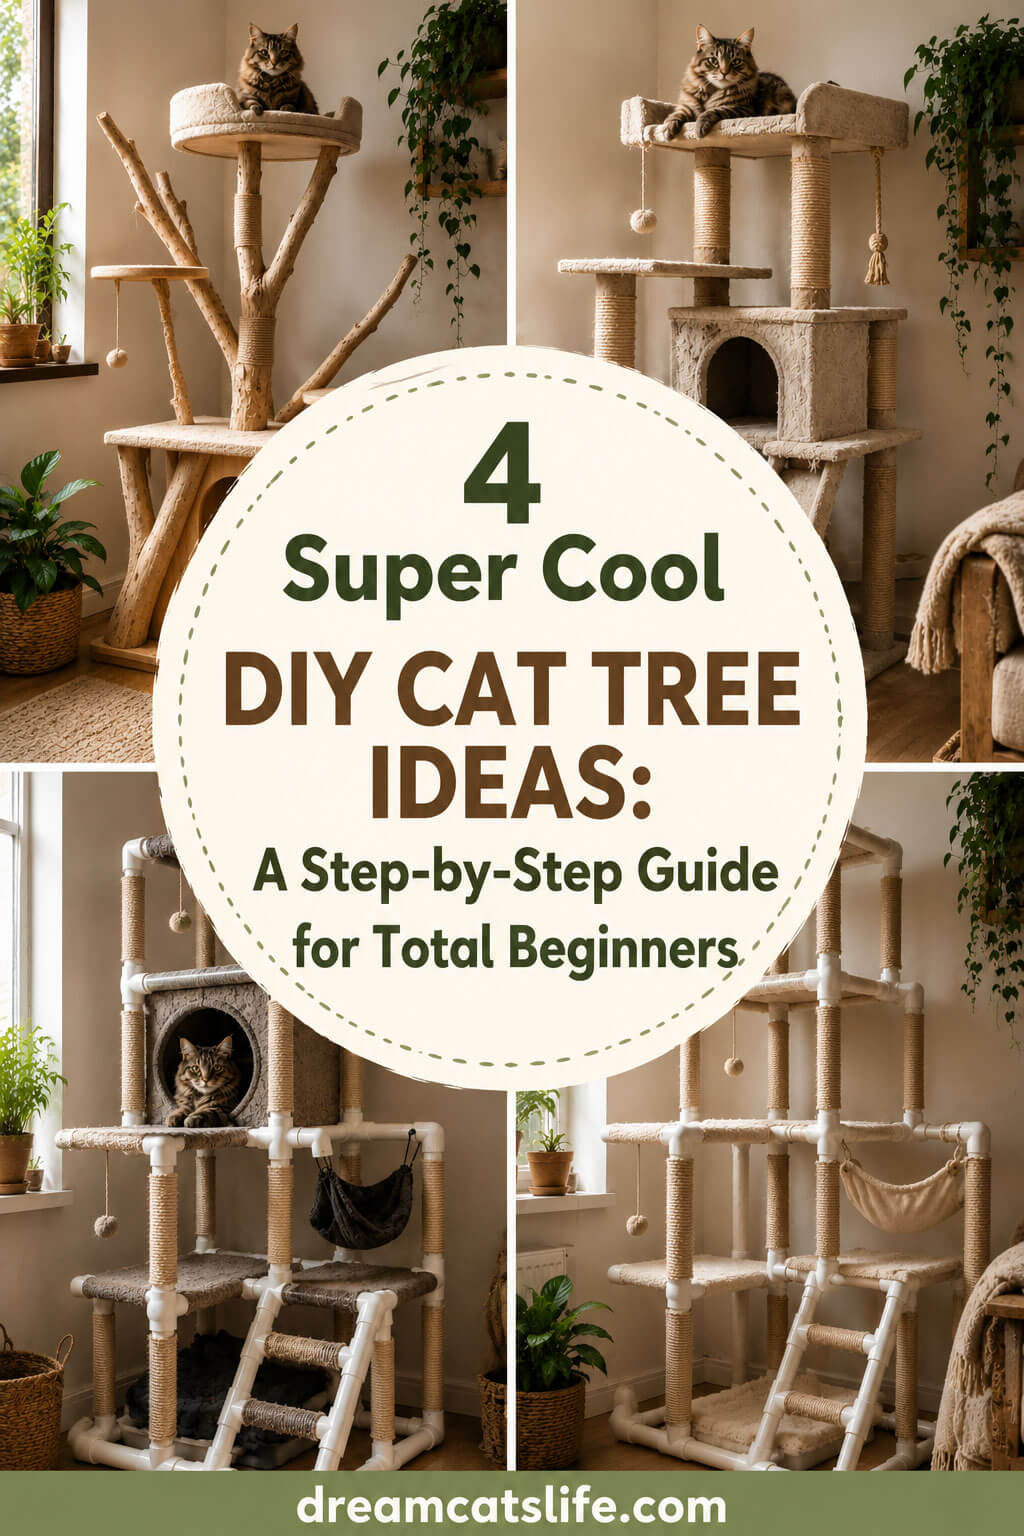
If you want a natural, eye-catching look, the tree-trunk cat tree (Idea #1) is your project. If you love the classic, multi-function cat tower, the board-and-carpet build (Idea #2) is the way to go. In a small apartment where you also want to hide the litter box, the branch cat tree with a built-in litter nook (Idea #3) is a practical choice, and if you’re just starting out and want something fast and affordable, the PVC-frame cat tower (Idea #4) is the best entry-level project. Whichever one you pick, stability and safe materials should always come first — that way, the cat tree you build with your own two hands will serve your cat for years to come.