5 DIY Kitty Christmas Tree Decorations to Easily Craft at Home
The holiday season is an ideal time to add some charming, cat-themed decorations to your home! Crafting kitty Christmas tree ornaments not only adds a unique, personal touch to your tree but also celebrates your love for cats. This article will guide you through five delightful DIY decorations that are easy to make and sure to enchant your holiday guests.
1. Cute Cat Face Ornaments
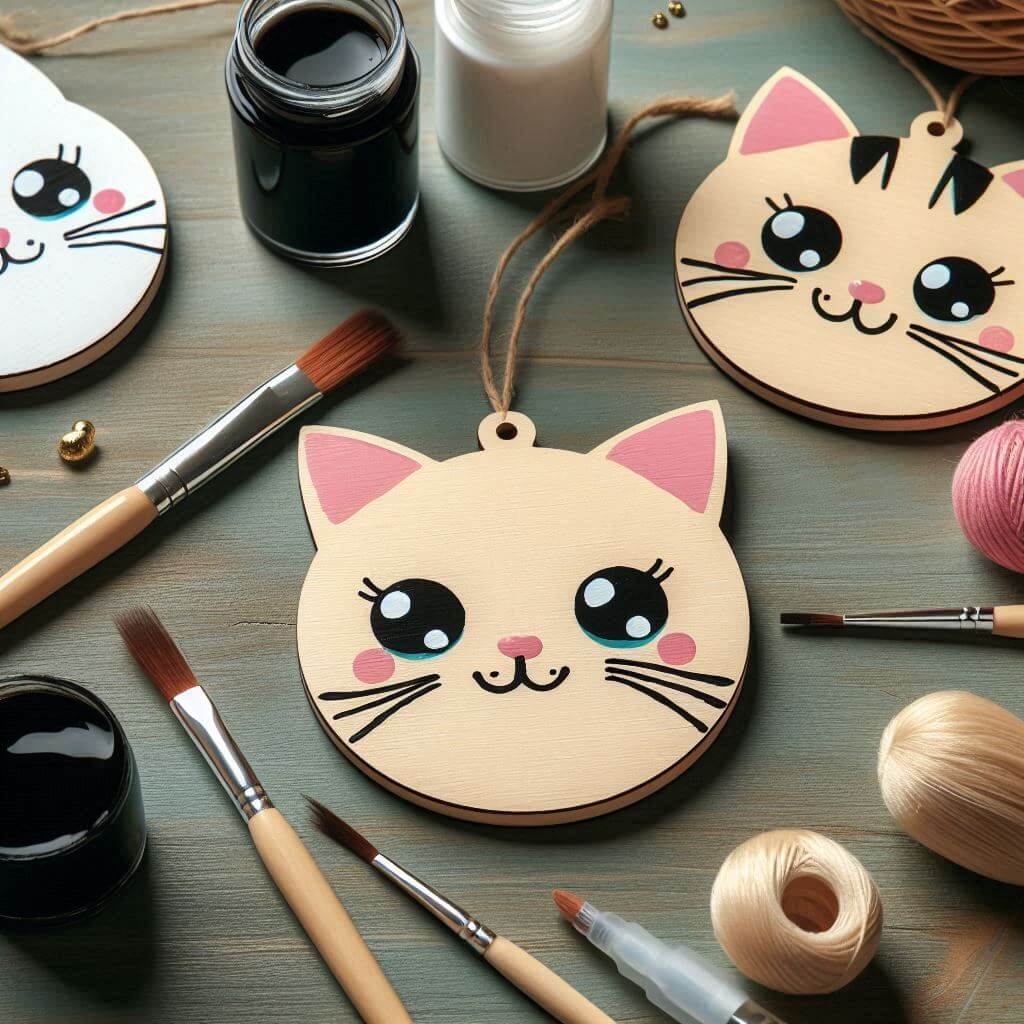
Capture the charm of your favorite feline with adorable hand-painted cat face ornaments. These cute wooden decorations make wonderful Christmas tree ornaments, gift tags, or year-round decorations for cat lovers.
You’ll need:
- unfinished wooden cat head ornaments (or laser-cut wood blanks)
- white or cream acrylic paint (optional, if the wood isn’t already light)
- pink, black, and white acrylic paint
- fine detail paintbrushes
- twine or ribbon for hanging
- clear acrylic sealer or Mod Podge to protect the design
Start by applying a light base coat if needed and allow it to dry completely. Sketch the face lightly with a pencil before painting the eyes, nose, whiskers, and ears. Use a dotting tool or the end of a paintbrush to create perfectly round eyes and rosy cheeks. Once the paint has dried, seal the ornament with a clear gloss or matte finish to prevent scratches and fading.
If you’re making several ornaments, try creating different expressions, eye colors, or coat patterns inspired by real cat breeds such as Siamese, Tuxedo, Calico, or Orange Tabby cats.
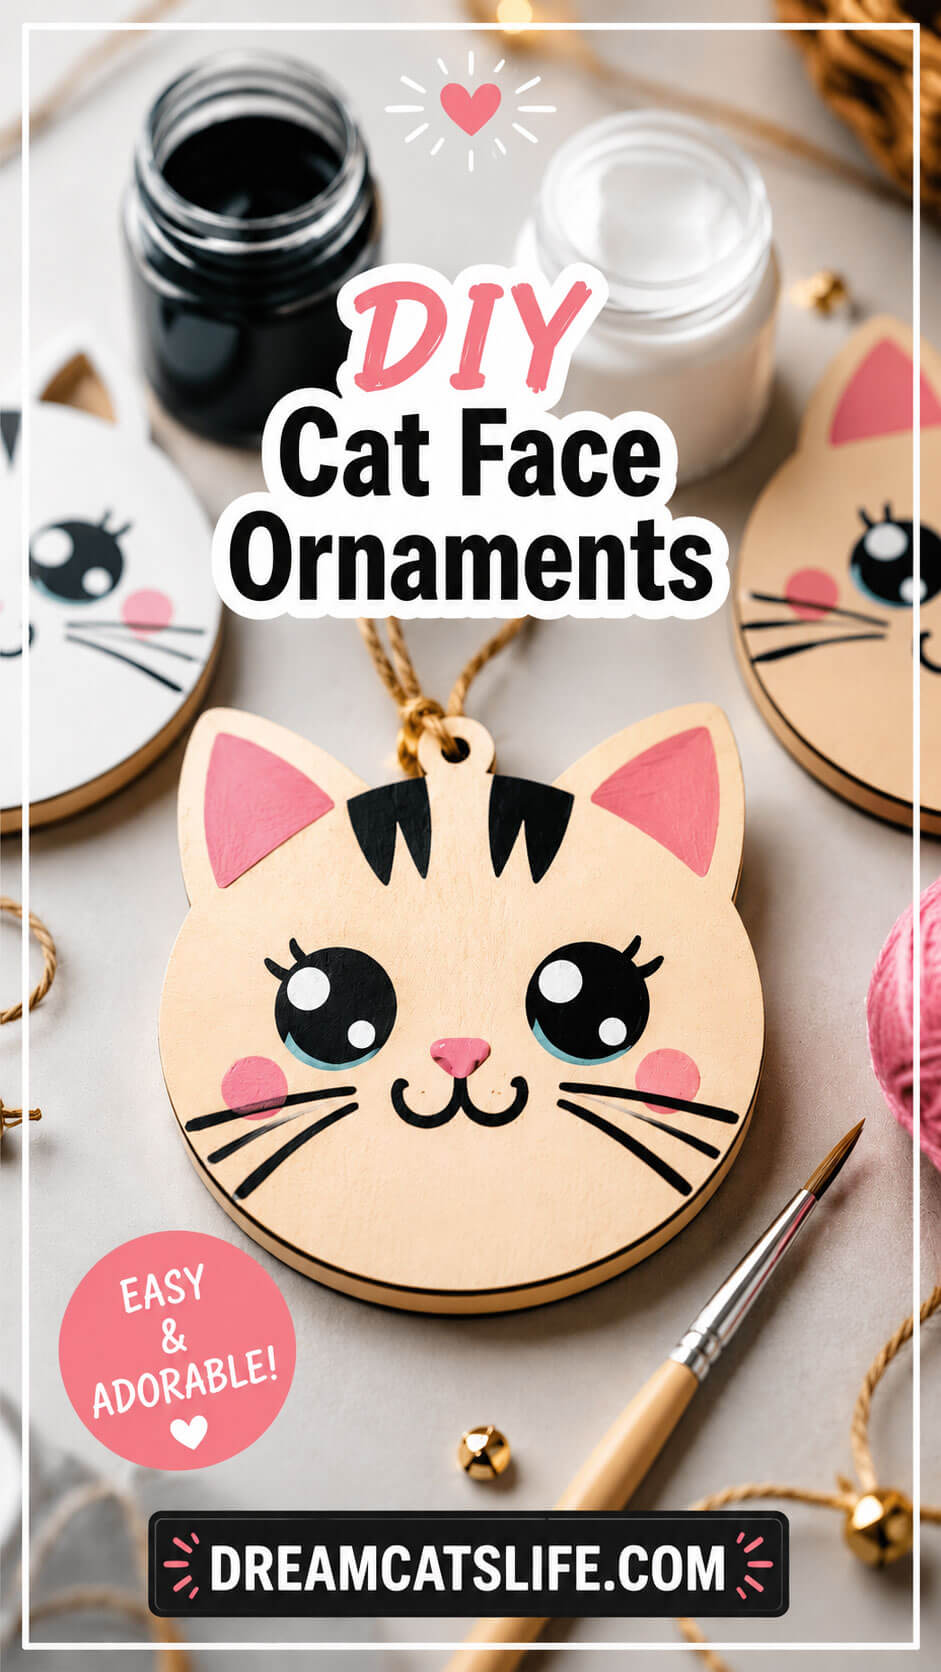
Where to buy the wooden blanks
If you can’t find cat-shaped wooden ornaments locally, they’re widely available online. Search for terms like “unfinished wooden cat ornament“, “wood cat head cutout“, or “laser cut wooden cat blank“ on craft marketplaces. Etsy offers a large selection from independent laser-cut wood sellers, while Amazon also carries unfinished birch plywood cat ornaments in various sizes.
Pro Tips
- Personalize each ornament by matching your own cat’s markings or writing its name on the back with a permanent marker.
- Paint the eyes first — they’re the focal point of the ornament.
- Let each paint color dry before adding another to avoid smudging.
- Tie a small jute string, velvet ribbon, tiny bell, or miniature bow through the hanging hole for an extra festive touch.
2. Paw Print Clay Ornaments
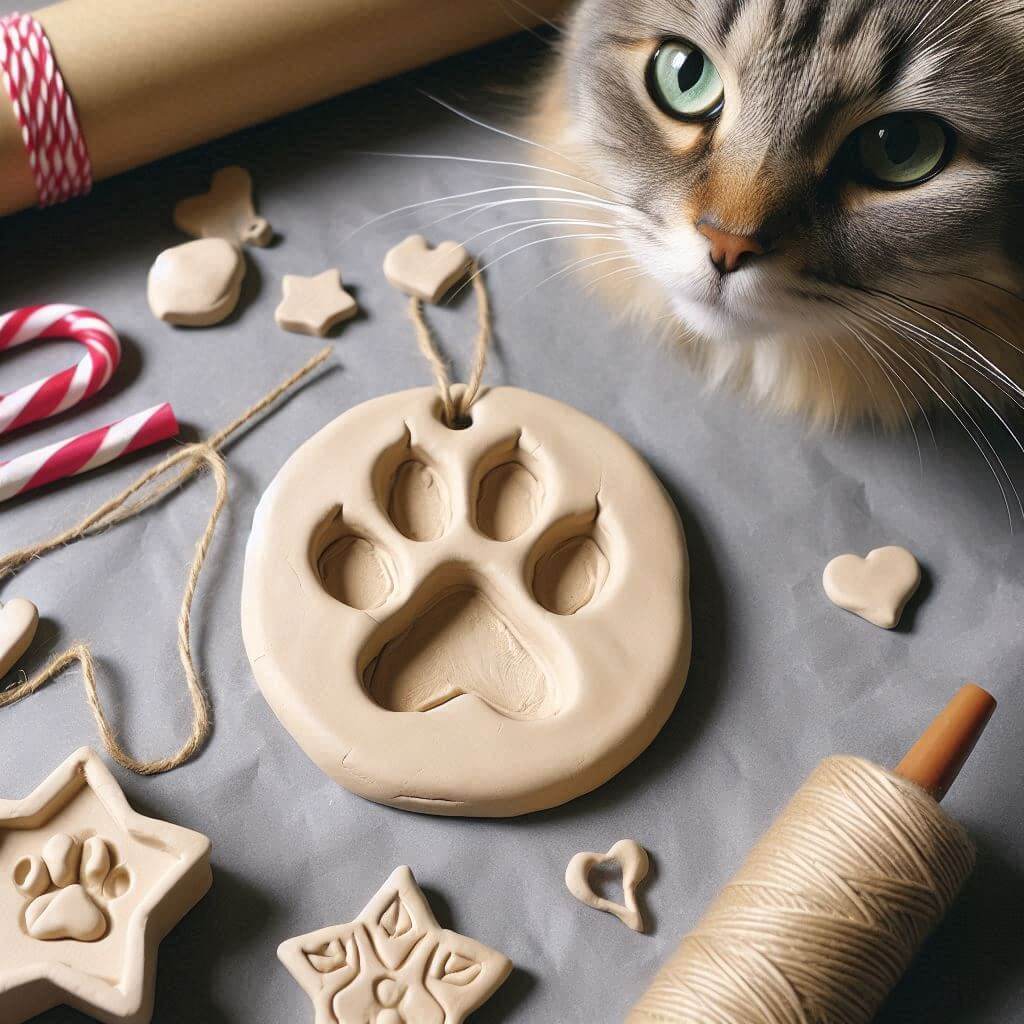
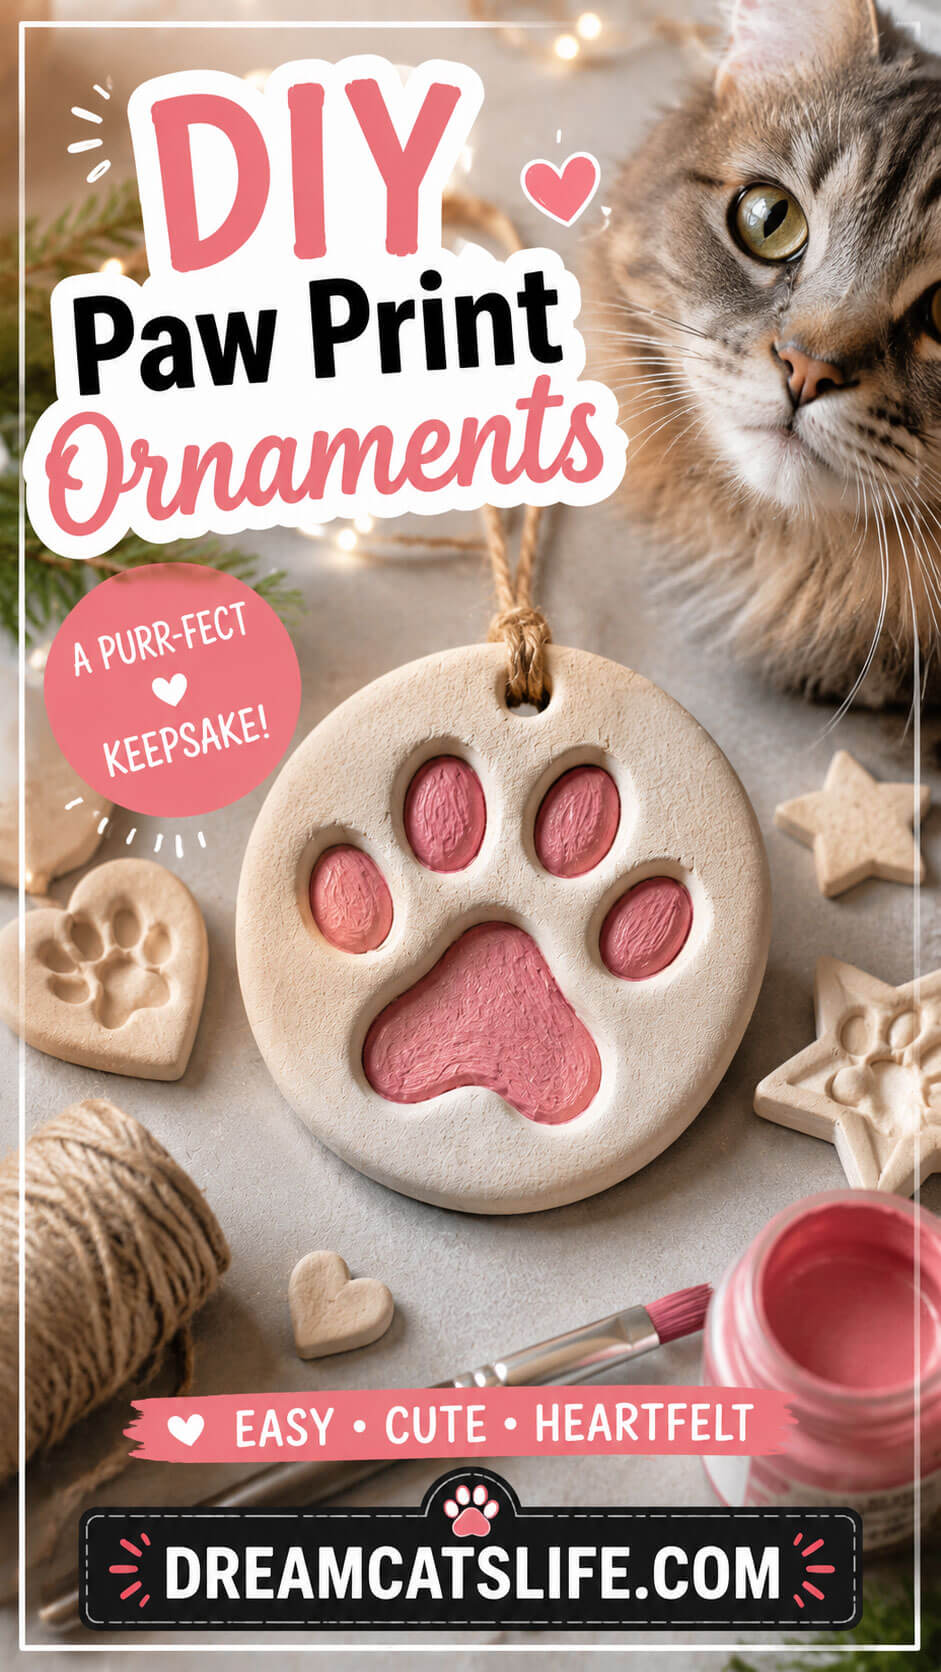
Create a heartfelt keepsake with a paw print ornament that you’ll treasure for years. Whether you use your own cat’s paw or a stamp, these ornaments are simple to make and look beautiful hanging on a Christmas tree or displayed year-round.
Materials
- air-dry clay or oven-bake polymer clay
- rolling pin
- parchment paper or silicone mat
- round or heart-shaped cookie cutter (optional)
- drinking straw (for the hanging hole)
- acrylic paints
- clear acrylic sealer or Mod Podge
- jute twine, ribbon, or velvet cord
- paw print stamp (optional)
Instructions
Roll the clay to about ¼ inch (6 mm) thick on a sheet of parchment paper. If you’re using your cat’s paw, gently press one clean paw into the clay just once to create a clear impression. Avoid pressing too deeply, as the details can become distorted. If your cat isn’t comfortable with this, a silicone paw stamp creates an equally cute result.
Cut the ornament into your preferred shape using a cookie cutter or trim around the print with a craft knife. Use a drinking straw to make a hanging hole about ½ inch (1 cm) from the top edge.
Allow air-dry clay to cure for 24–72 hours according to the manufacturer’s instructions, turning it over halfway through if recommended. If you’re using polymer clay, bake it according to the package directions.
Once completely dry, lightly sand any rough edges with fine-grit sandpaper before painting. Finish with a clear sealer to protect the ornament from moisture and scratches.
Where to Buy the Supplies
Most of the materials are easy to find at craft stores or online:
- Air-dry clay: Crayola Air-Dry Clay, DAS Air-Hardening Modeling Clay, or Jovi Air-Dry Clay are excellent beginner-friendly options.
- Polymer clay: Sculpey and Fimo are great if you prefer baking the ornament for extra durability.
- Paw print stamps: Search for “paw print stamp for clay“ or “pet paw impression stamp“ on Etsy or Amazon. Etsy also offers personalized paw stamp kits from small makers.
- Acrylic paints and sealers: Any basic acrylic craft paint works well. For protection, use Mod Podge or a clear acrylic spray sealer.
Tips for Using Your Cat’s Paw
- Make sure your cat is calm and relaxed.
- Wipe the paw clean before pressing it into the clay.
- Prepare the clay first so the paw only needs to touch it once.
- Reward your cat with a favorite treat immediately afterward.
- If your cat seems uncomfortable, don’t force it — a paw stamp creates a very similar result without causing stress.
Decorating Ideas
- Create a collection of ornaments over the years to see how your cat’s paw changes over time.
- Paint the paw print in metallic gold or silver for an elegant keepsake.
- Add your cat’s name and the year on the back with a permanent marker.
- Glue on a tiny bow or small jingle bell for a festive touch.
- Dust the edges with fine glitter before sealing for subtle sparkle.
3. Felt Cat Silhouette Ornaments
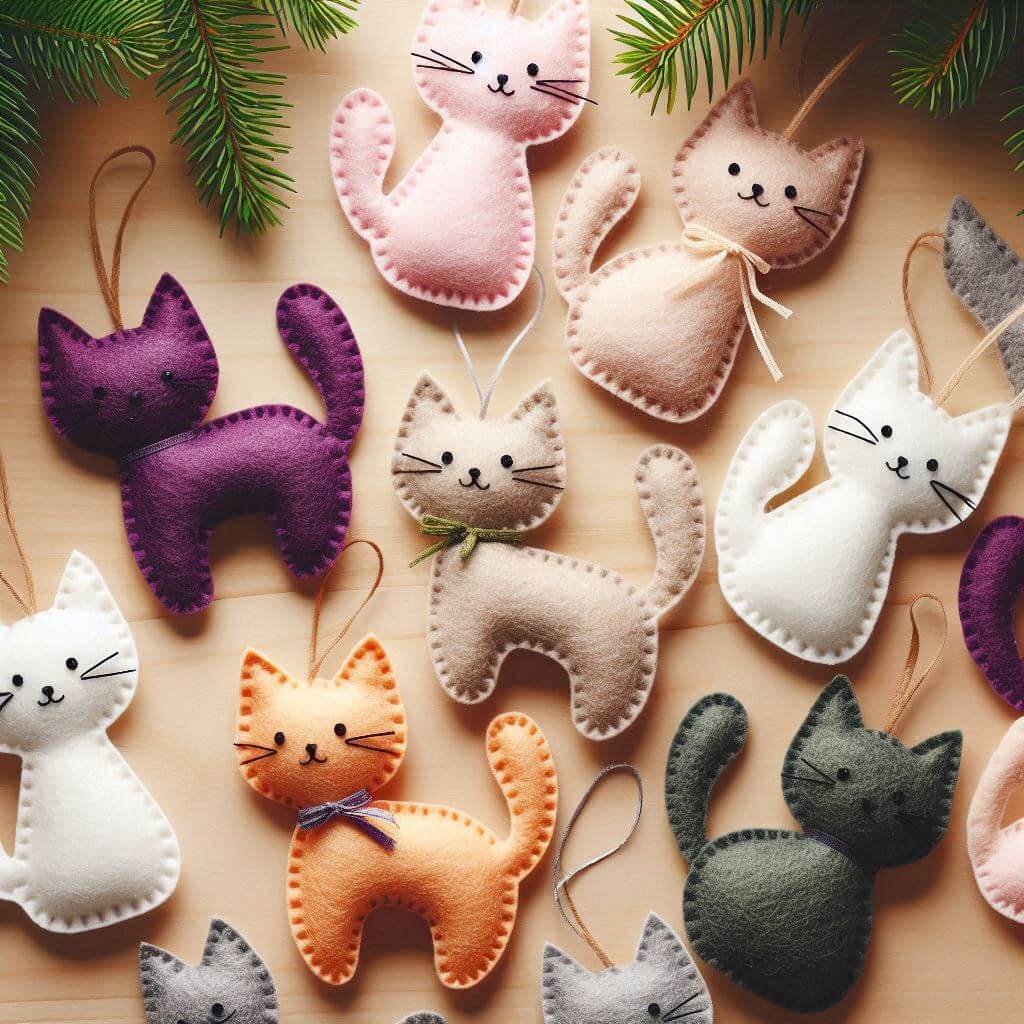
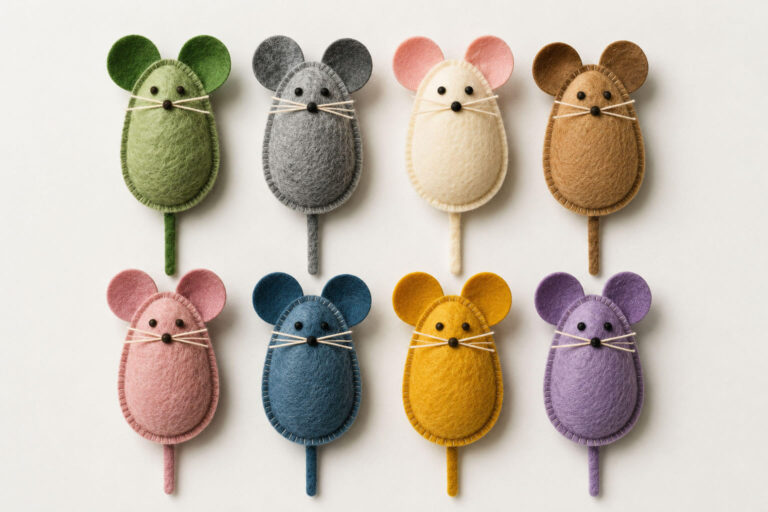
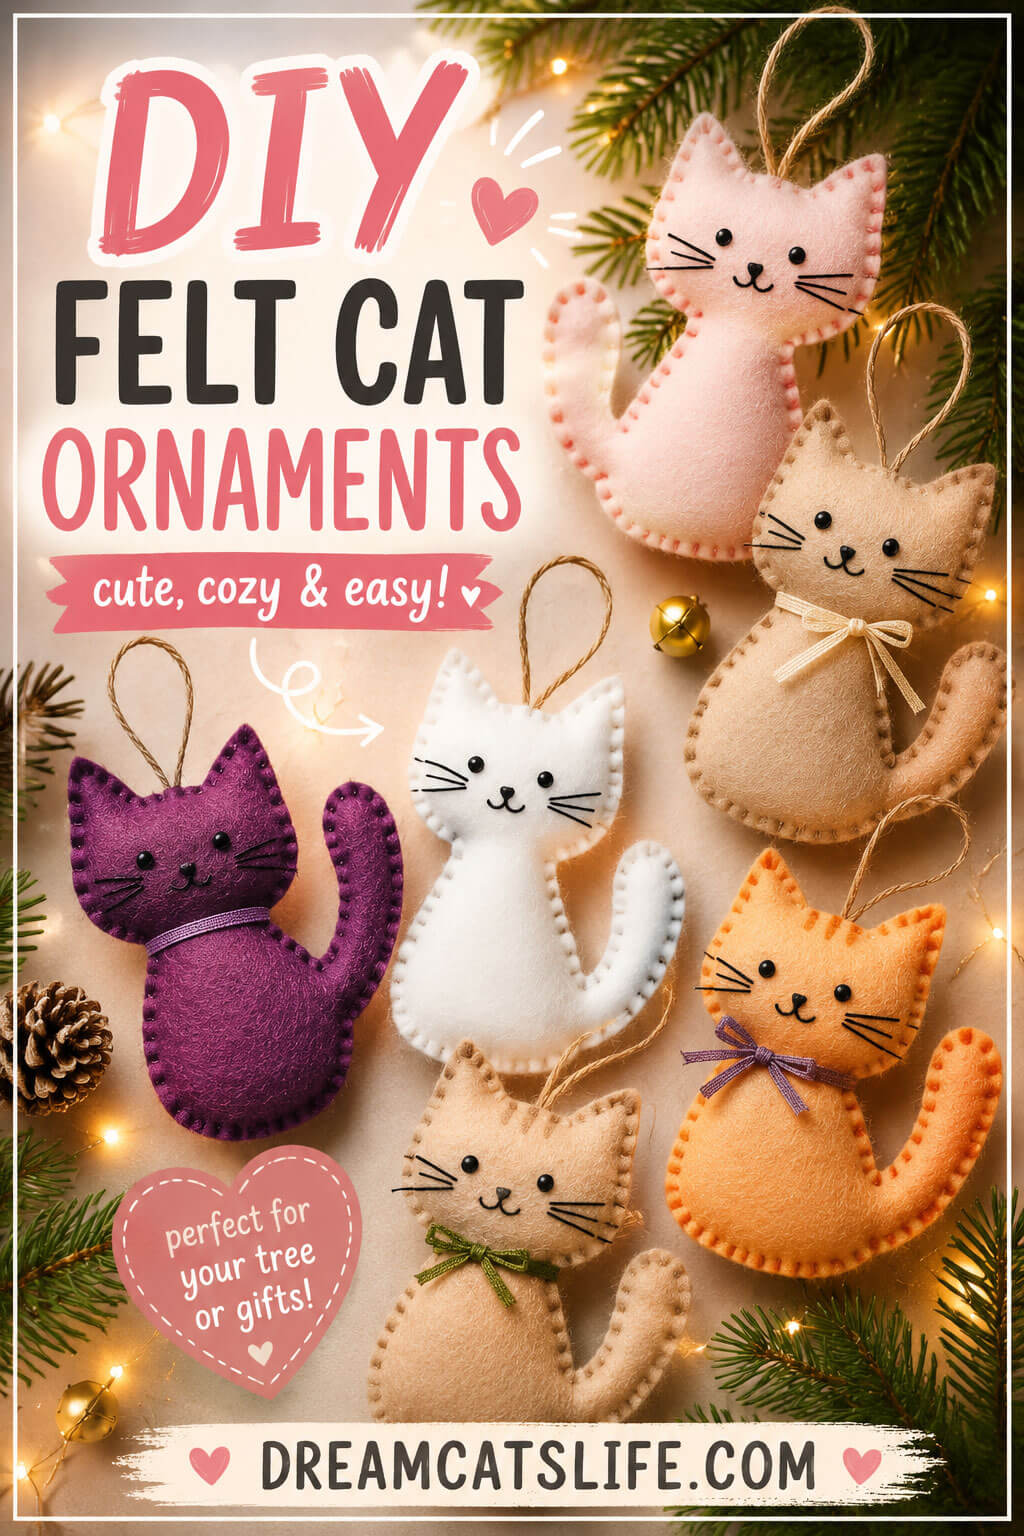
Soft felt cat ornaments are a timeless Christmas craft that adds a warm, handmade touch to your holiday décor. They’re beginner-friendly, inexpensive to make, and perfect for using up leftover felt. Make several in different colors for a charming tree, gift toppers, or festive garland.
Materials
- craft felt sheets (1–2 mm thick)
- cat silhouette template
- fabric scissors
- embroidery floss or sewing thread
- embroidery needle
- polyester fiberfill stuffing
- hot glue gun or fabric glue (optional)
- black embroidery floss or small safety eyes
- narrow ribbon, twine, or jute cord for hanging
- small bells, bows, buttons, or embroidery floss for decorating
Instructions
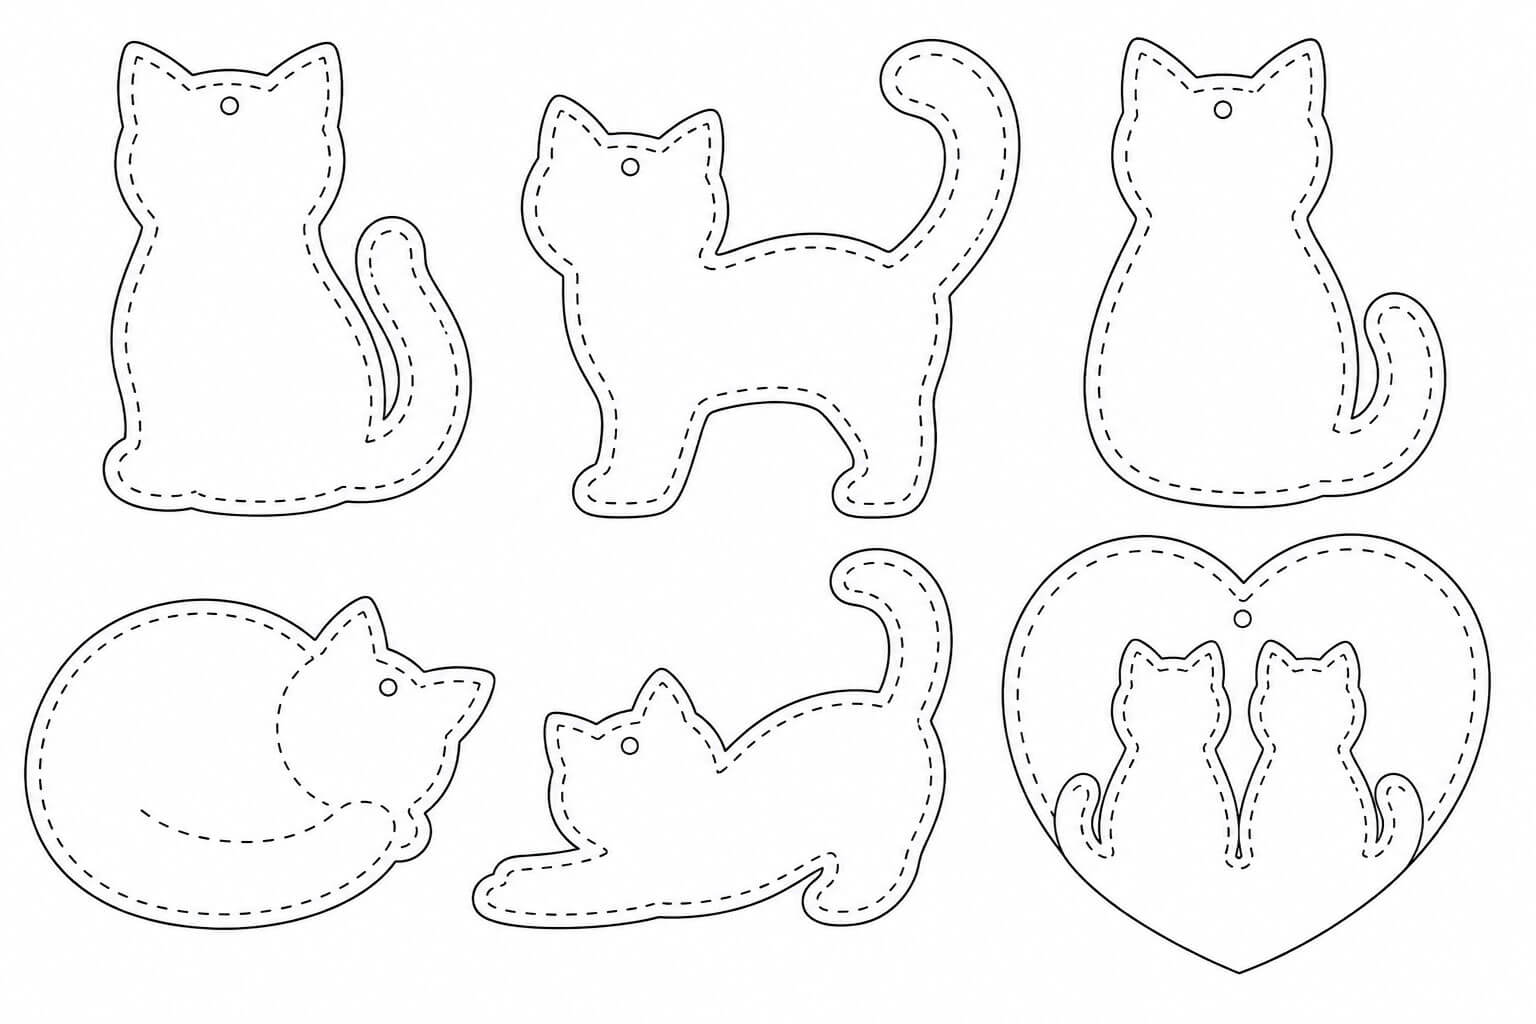
Print or draw a simple cat silhouette and use it as a template. Trace the shape onto felt twice for each ornament and carefully cut out both pieces.
If you’d like to add embroidered details such as whiskers, eyes, or a nose, stitch them onto the front piece before assembling. This is much easier than sewing after the ornament is closed.
Place the two felt pieces together and sew around the edges using a blanket stitch or whip stitch. Leave a small opening at the bottom, lightly fill the ornament with polyester stuffing, then finish sewing it closed. Insert a folded ribbon or twine loop into the top while sewing so it’s securely attached.
If sewing isn’t your favorite, you can simply glue the pieces together with fabric glue or a hot glue gun, leaving a small opening to add stuffing first.
Where to Buy the Supplies
Most of these materials are inexpensive and easy to find online or at local craft stores.
- Felt sheets: Search for “craft felt sheets“, “wool blend felt“, or “acrylic felt bundle“ on Amazon or Etsy. Wool-blend felt is softer and more durable, while acrylic felt is a budget-friendly choice.
- Polyester stuffing: Poly-fil Fiber Fill is one of the most popular stuffing materials for plush ornaments.
- Embroidery floss: DMC embroidery floss comes in hundreds of colors and is ideal for decorative stitching.
- Cat ornament templates: Etsy offers printable PDF cat ornament sewing patterns, or you can download my free printable cat ornament template below.
Creative Ideas
- Make ornaments inspired by real cat breeds like Tuxedo, Calico, Siamese, or Tabby.
- Embroider your cat’s name on the back.
- Add tiny ribbon bows, miniature jingle bells, or embroidered snowflakes.
- Use pastel felt for a Scandinavian Christmas look or traditional red, green, and white for a classic holiday theme.
- Sew a small pocket on the back to tuck in a tiny note or holiday wish before hanging it on the tree.
Pro Tips
- If making several ornaments, create a reusable cardstock or plastic template to ensure every cat is the same size.
- Use wool-blend felt if you want a more premium-looking ornament that won’t pill as easily.
- Pin or clip the felt pieces together before sewing to keep the edges perfectly aligned.
- Don’t overstuff the ornament — just enough filling helps it keep its shape without stretching the stitches.
4. Glitter Cat Ball Ornaments
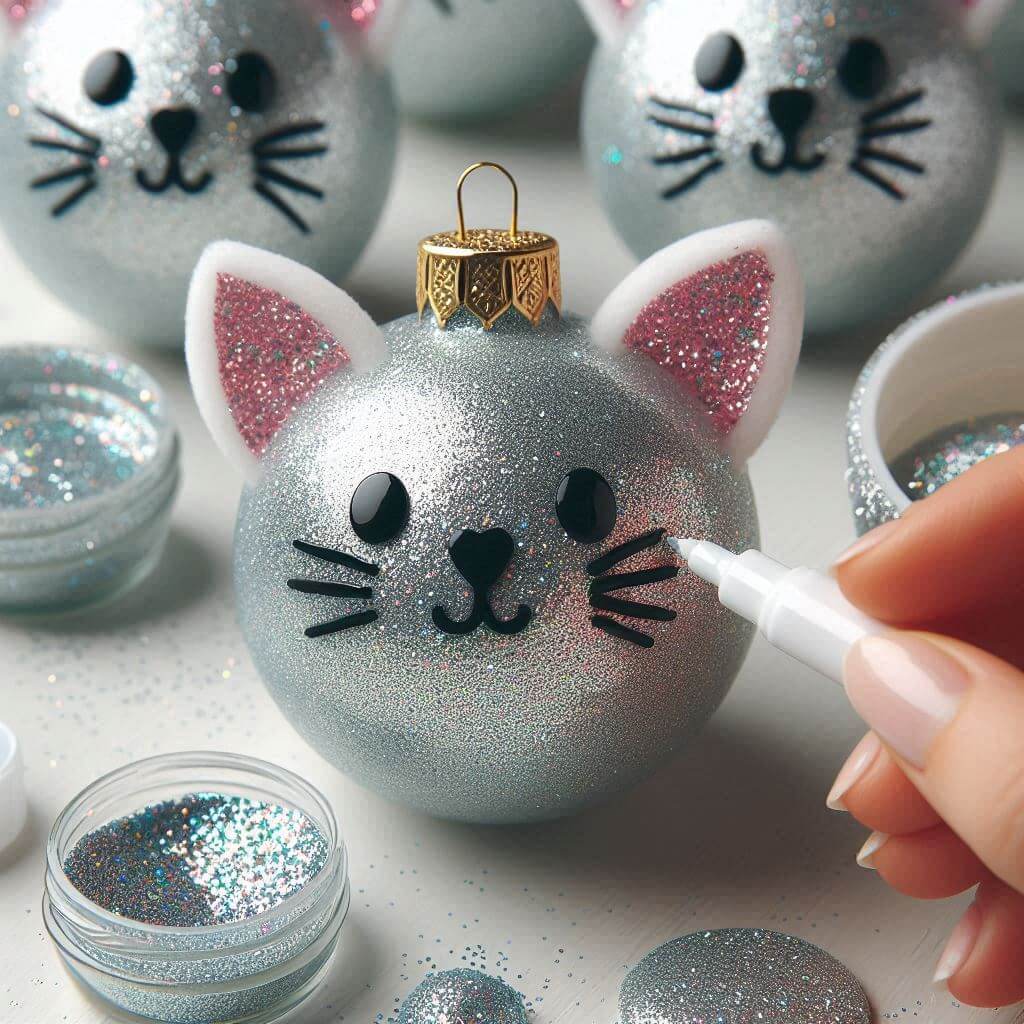
If you love sparkly Christmas decorations, these glitter cat ornaments are an adorable project that takes only a few supplies. They make beautiful tree ornaments, thoughtful handmade gifts, or festive decorations for any cat lover.
Materials
- clear plastic or glass ball ornaments
- fine craft glitter
- Mod Podge Gloss or glitter ornament adhesive
- black acrylic paint pen or permanent paint marker
- white craft foam, felt, or EVA foam (for the ears)
- pink glitter cardstock, glitter foam, or pink felt
- hot glue gun
- small ribbon or jute twine (optional)
- clear acrylic sealer (optional)
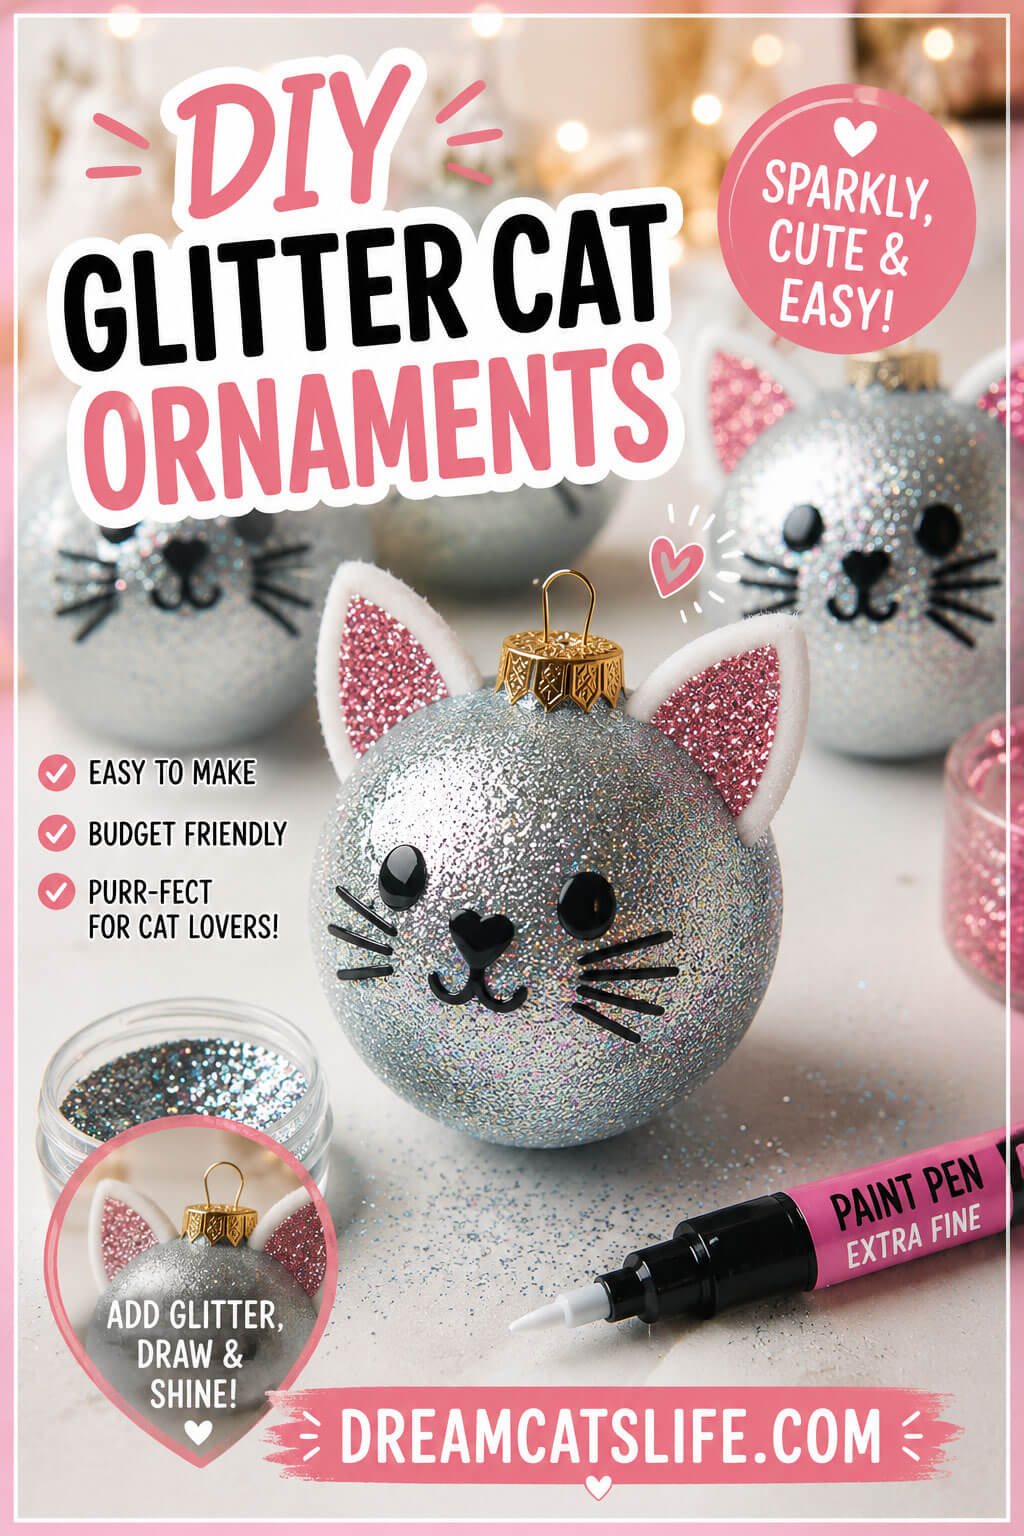
Instructions
Start by cleaning the ornament with rubbing alcohol to remove fingerprints and help the adhesive stick better.
For a fully glittered ornament, brush a thin layer of Mod Podge Gloss over the outside of the ornament and immediately sprinkle fine glitter over the entire surface. Let it dry completely before gently shaking off any excess glitter.
Cut two cat ears from white craft foam or thick felt. Cut smaller inner ears from pink glitter foam or glitter cardstock and glue them onto the larger ears. Once dry, attach the ears to the top sides of the ornament using a hot glue gun.
Use a black acrylic paint pen to draw simple cat features, including round eyes, a heart-shaped nose, a smiling mouth, and whiskers. Let the paint dry completely before handling.
For extra durability, lightly spray the ornament with a clear acrylic sealer to reduce glitter shedding and protect the painted details.
Where to Buy the Supplies
Everything needed for this project is easy to find online or at craft stores.
- Clear ornaments: Search for “clear plastic fillable ornaments“ or “clear glass Christmas ball ornaments“ on Amazon or Etsy.
- Fine glitter: Extra-fine craft glitter creates the smoothest sparkle. Chunky glitter also works for a more playful look.
- Paint markers: Posca, Sharpie Oil-Based Paint Markers, or Artistro paint pens are excellent for drawing clean facial details.
- Craft foam and felt: White EVA foam sheets, craft felt, and glitter foam sheets are inexpensive and easy to cut.
- Mod Podge: Mod Podge Gloss is one of the most popular craft adhesives for glitter projects and helps reduce glitter fallout.
Decorating Ideas
- Add a tiny satin bow or miniature jingle bell around the cat’s neck.
- Make a collection inspired by different cat breeds using various eye colors and ear patterns.
- Personalize each ornament by writing your cat’s name and the year on the back with a metallic paint pen.
- Mix silver, white, rose gold, champagne, or pastel pink glitter to match your Christmas décor.
- Add small rhinestones for sparkling eyes or tiny snowflakes for a winter-themed ornament.
Pro Tips
- Place a sheet of paper underneath while glittering the ornament so you can pour the excess glitter back into the container and avoid waste.
- Plastic ornaments are much safer than glass if you have children or pets.
- Use extra-fine glitter for an elegant, even finish.
- Allow the glitter to dry overnight before drawing the face.
- If you’re making several ornaments, create a simple cardboard ear template so every pair matches perfectly.
5. Yarn-Wrapped Kitty Balls
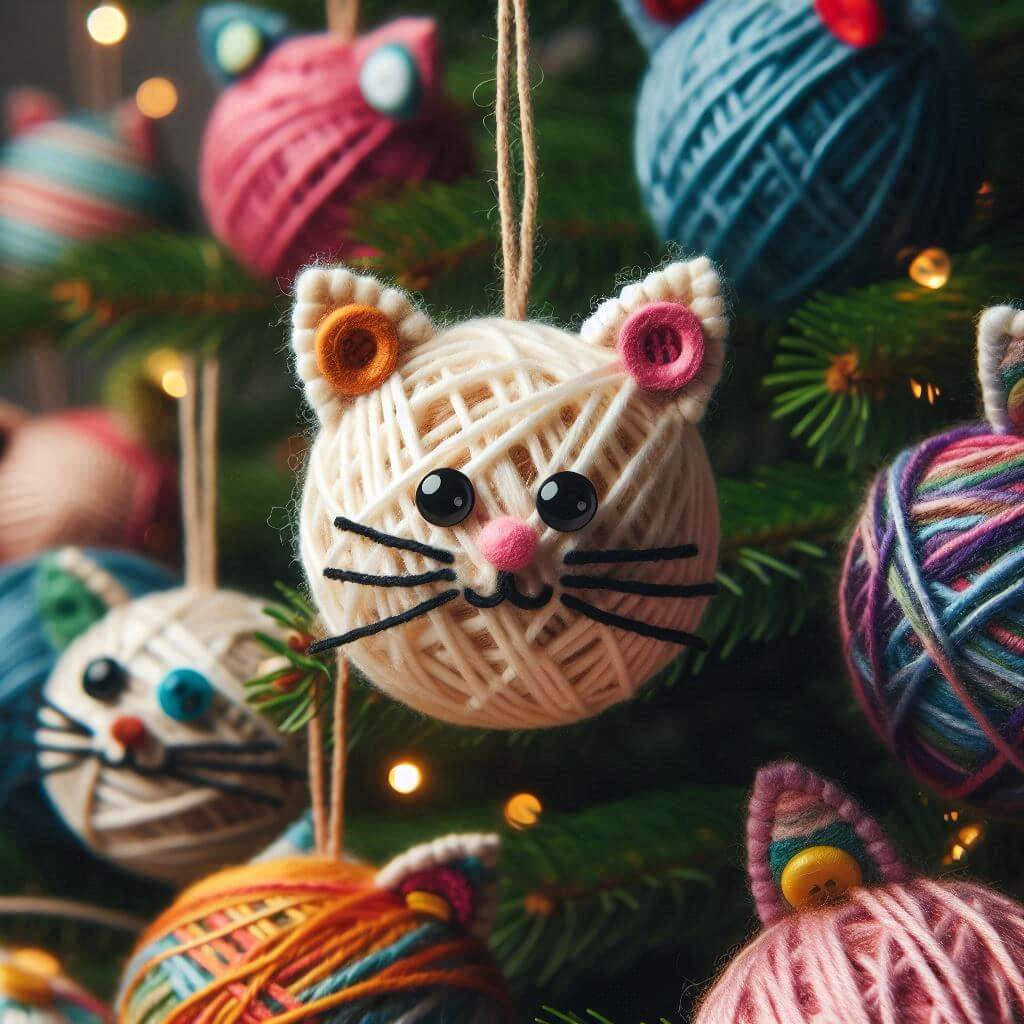
These adorable yarn-wrapped kitty ornaments are inspired by every cat’s favorite toy — a ball of yarn! They’re cozy, lightweight, budget-friendly, and look wonderful on a Christmas tree. Best of all, you can customize each ornament with different yarn colors and cute facial expressions.
Materials
- Styrofoam balls (3–4 inches / 7–10 cm)
- Cotton yarn or acrylic yarn
- Hot glue gun
- Felt sheets (white, pink, or matching colors)
- Small black safety eyes or black beads
- Pink felt pom-pom or wooden bead (for the nose)
- Black embroidery floss or thin black cord
- Small buttons (optional, for the ears)
- Jute twine or ribbon for hanging
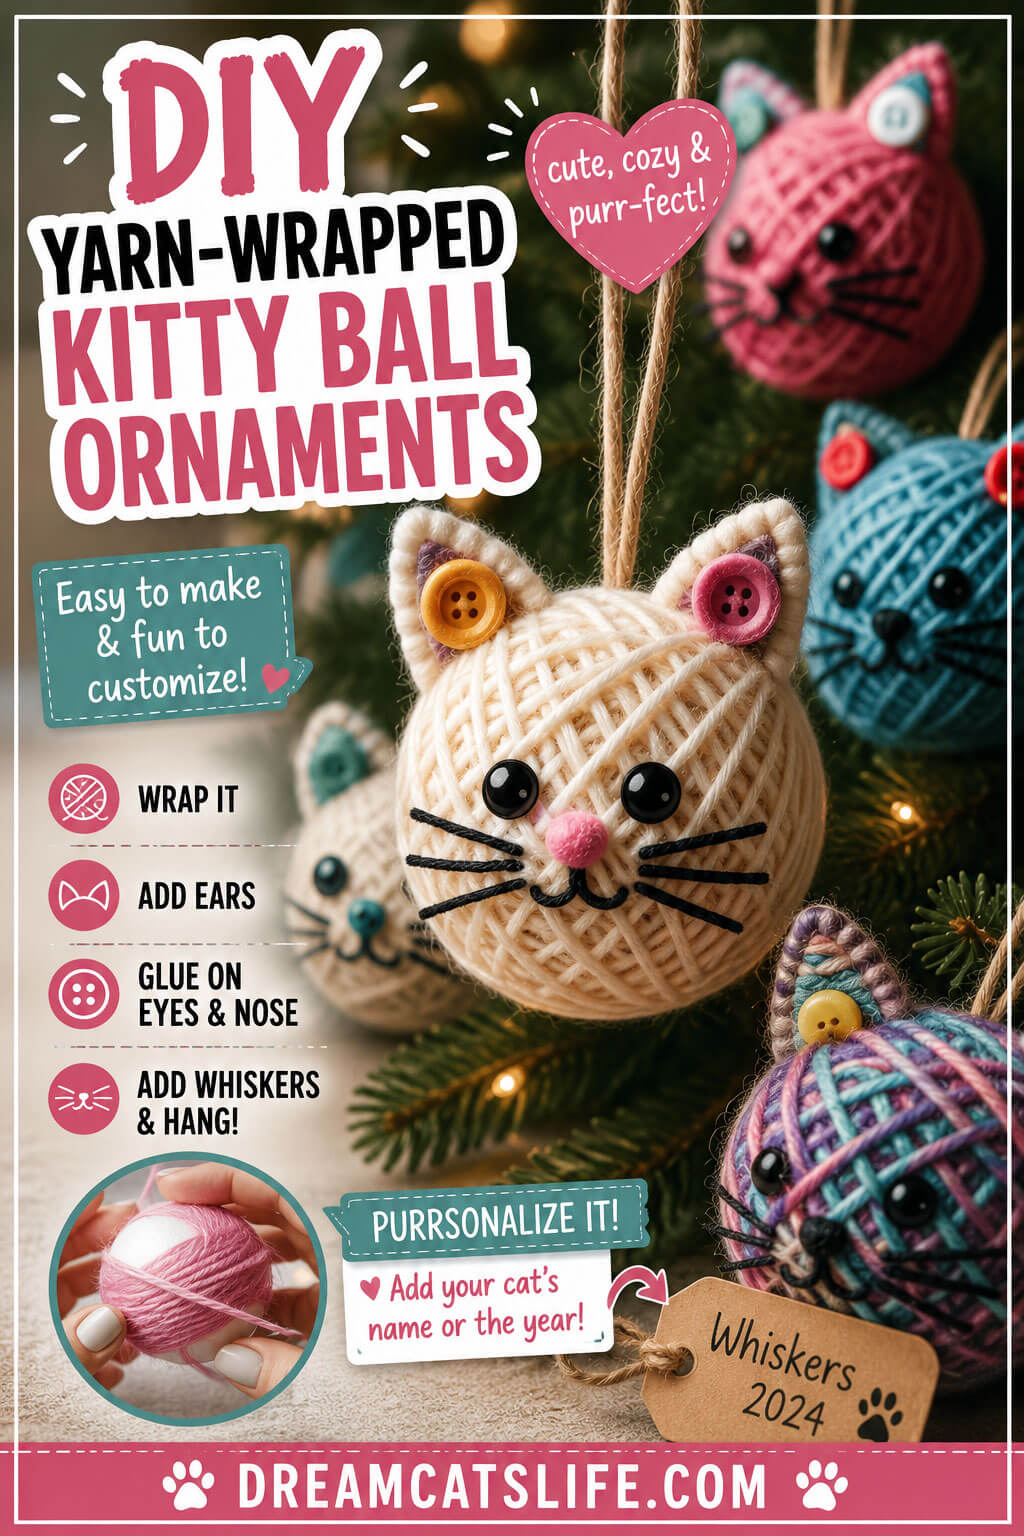
Instructions
Start by attaching one end of the yarn to the Styrofoam ball with a small drop of hot glue. Wrap the yarn tightly around the ball, changing directions occasionally so the entire surface is covered evenly. Secure the final end with another small drop of glue hidden underneath the yarn.
Cut two small cat ears from felt and glue them to the top of the ornament. For extra detail, glue small buttons or contrasting felt circles inside the ears, just like in the photo.
Attach the eyes using safety eyes, black beads, or googly eyes. Glue a small pink pom-pom or wooden bead in the center for the nose. Create the whiskers and smiling mouth using short pieces of black embroidery floss or thin cord.
Finally, glue a loop of jute twine or ribbon to the top so the ornament is ready to hang.
Where to Buy the Supplies
Most supplies are inexpensive and available from craft stores or online.
- Styrofoam balls: Search for “foam craft balls“, “Styrofoam balls for crafts“, or “polystyrene craft balls” on Amazon or Etsy.
- Yarn: Cotton yarn gives a clean, smooth finish, while acrylic yarn creates a softer, fluffier look. Small yarn bundles or leftover skeins are perfect for this project.
- Safety eyes: Search for “plastic safety eyes for plush toys“ or “amigurumi safety eyes“. They come in many sizes and create an adorable professional look.
- Craft felt: Felt sheets are widely available in multipacks and are easy to cut into ears.
- Mini pom-poms: Small craft pom-poms work perfectly as cat noses if you don’t have pink beads.
Decorating Ideas
- Make a whole family of cats using different yarn colors like white, gray, ginger, black, cream, or pastel shades.
- Add tiny ribbon bows, miniature bells, or festive scarves.
- Use striped or variegated yarn to create unique “fur” patterns.
- Add embroidered eyelashes or rosy felt cheeks for extra personality.
- Write your cat’s name and the year on a small wooden tag tied to the hanging loop.
Pro Tips
- If you’re making several ornaments, prepare all the wrapped balls first, then decorate them assembly-line style to save time.
- Wrap the yarn firmly but not so tightly that it dents the foam ball.
- Rotate the ball as you wrap to avoid visible gaps.
- A low-temperature hot glue gun works best because it won’t melt the Styrofoam.
- Make the ears slightly oversized — they stand out beautifully on a Christmas tree.
Why Kitty Christmas Tree Decorations Are a Must-Have
Adding cat-themed ornaments to your tree creates a whimsical, personalized holiday atmosphere that fellow cat lovers will adore. Each decoration reminds you of the joy and playfulness your cat brings to your life, making the season feel even more special. Plus, crafting these decorations is a fun holiday activity that the whole family can enjoy.
With these DIY kitty decorations, your Christmas tree will showcase your love for cats in the most charming way! Each ornament is not only easy to make but also brings the spirit of your feline friend to life, adding warmth and personality to your holiday celebrations.
For even more holiday cheer, check out our article on Cat Decorations for Christmas. It’s full of creative ideas to add a touch of feline charm to your festive decor. From cozy cat-themed accents to playful details, you’ll find inspiration to make your holiday setup purr-fectly delightful for both you and your furry friend!